This guide combines user experience and function analysis to help you quickly get started with Cursor AI and optimize the programming process!
cursor is a code editor created by Anysphere's lab. It integrates advanced LLM-like vscode compilers such as GPT4 and Claude 3.5. It can be understood that it integrates AI-assisted programming assistants in vscode. From the page in the figure below, it can be seen that the layout of cursor is basically the same as vscode, and the use of cursor is also the same as vscode, including extension download, python compiler configuration, remote server connection and settings, etc. If you are a senior vscode user, then congratulations on you for direct and seamless connection of cursor.

The biggest difference between Cursor and VSCode is that it has built-in AI to collaborate code, and for this reason it has made many modifications to VSCode, which makes its experience more comfortable than using plug-ins such as Github Copilot on VSCode.
Cursor installation
Cursor needs to be downloaded on its official website. After downloading, you need to register to use it. It supports Google and Github account login.
Official website download address: https://www.cursor.com/

After registration is completed, you will have an exclusive account, and the number of model calls for each account is limited, among which the number of free calls for GPT4 and Claude3.5 is 500, and Cursor adopts a subscription system. New users can try out Pro subscriptions for two weeks. If you want to subscribe to Pro, you will need to pay $20 per month.

After installation, Cursor will prompt you whether to import your VSCode configuration at the first startup. After the import is completed, you basically have the AI-enhanced version of VSCode. Remember to set Chinese for the first time. The operation steps are the same as VSCode:
Click the box at the top and enter >language to configure Simplified Chinese.

Configuration model
Cursor has built-in many LLMs, including the most advanced GPT4s, Claude3.5s and the latest inference models o1-preview and o1-mini released by openai. The corresponding model can be opened in the settings in the upper right corner for assisted programming.

Increase your productivity with these basic Cursor keyboard shortcuts and symbols. This quick lookup table covers key commands for Cursor's AI-driven capabilities, including Cursor Tab, Cmd K, Chat, Composer, and @ symbols. Note: Use Ctrl on Windows/Linux and ⌘(Command) on macOS.
Cursor Tab (AI code completion)
Accept the suggestion Tab
Reject suggestions Esc
Partially accept Ctrl/⌘ + →
Cmd K (Inline Editing)
Open Cmd KCtrl/⌘ + K
Ctrl/⌘ + ↵ should be changed
Cancel/delete changes Ctrl/⌌ + ⌫
Chat interface
Open Chat Ctrl/⌘ + L
Add code to chat Ctrl/⌘ + L
Composer
Open ComposerCtrl/⌘ + I
Open full screen ComposerCtrl/⌘ + Shift + I
@ symbol
Reference file @filename
Reference function @functionName
Reference variable @variableName
Search codebase @codebase query
Search the Internet @web query
General
Open the command panel Ctrl/⌘ + Shift + P
Open Settings Ctrl/⌘ + ,
Switch sidebar Ctrl/⌘ + B
Switch terminal `Ctrl/⌘ + ``
Create a new file Ctrl/⌘ + N
Save file Ctrl/⌘ + S
Cursor Common Function Description
Command K:
Lets you edit and write code using AI. To edit, just select some code, click "Edit", and describe how the code should be changed. To generate a brand new code, just enter Command K without selecting anything.
Copilot++:
Cursor's native autocomplete function. It is a more powerful version of Copilot that can suggest the completion of intermediate rows and the entire difference. It uses a custom model that is trained to predict the next edit in the code base.
Chat:
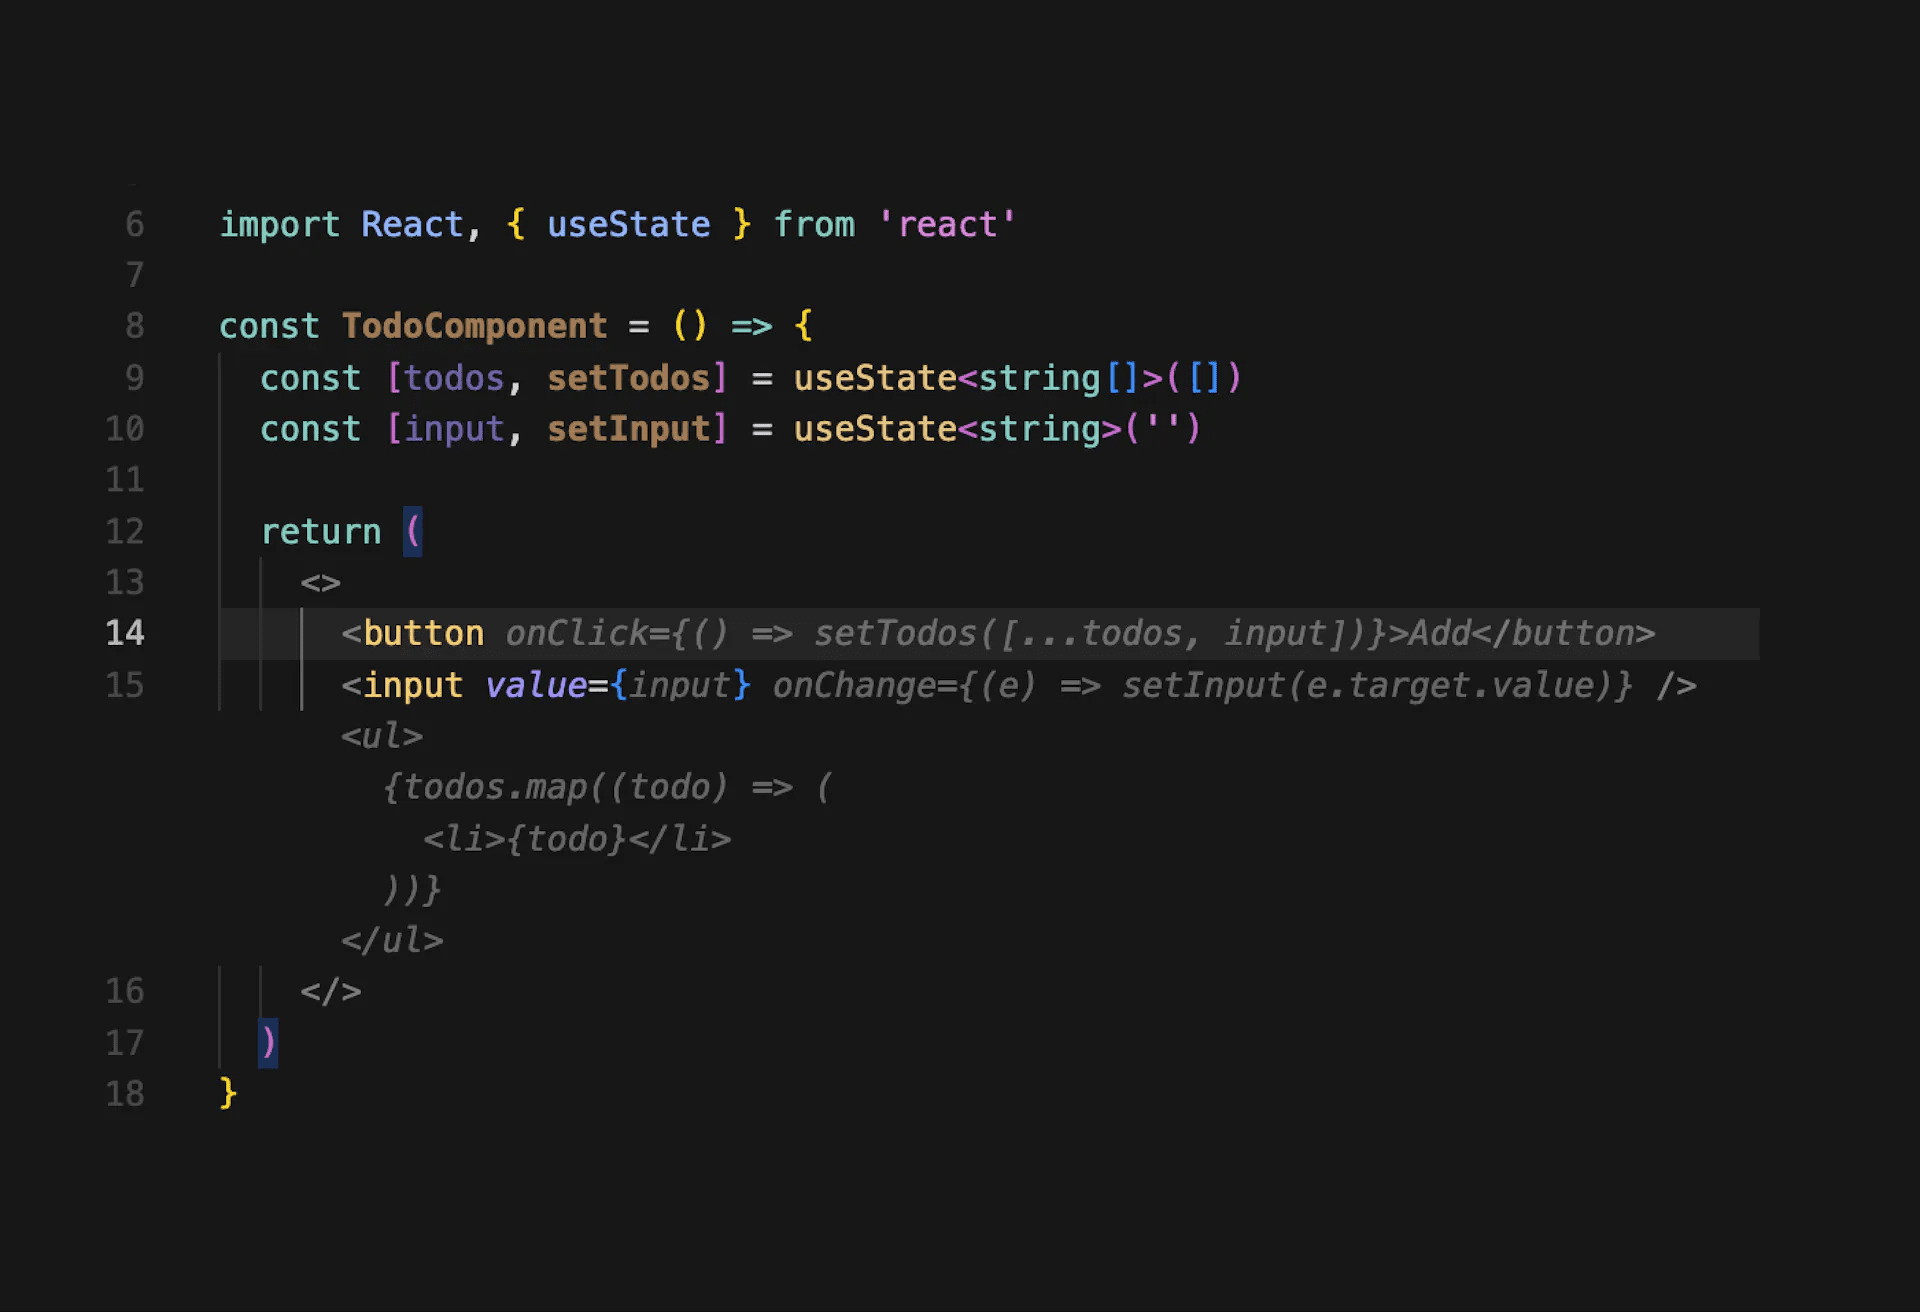
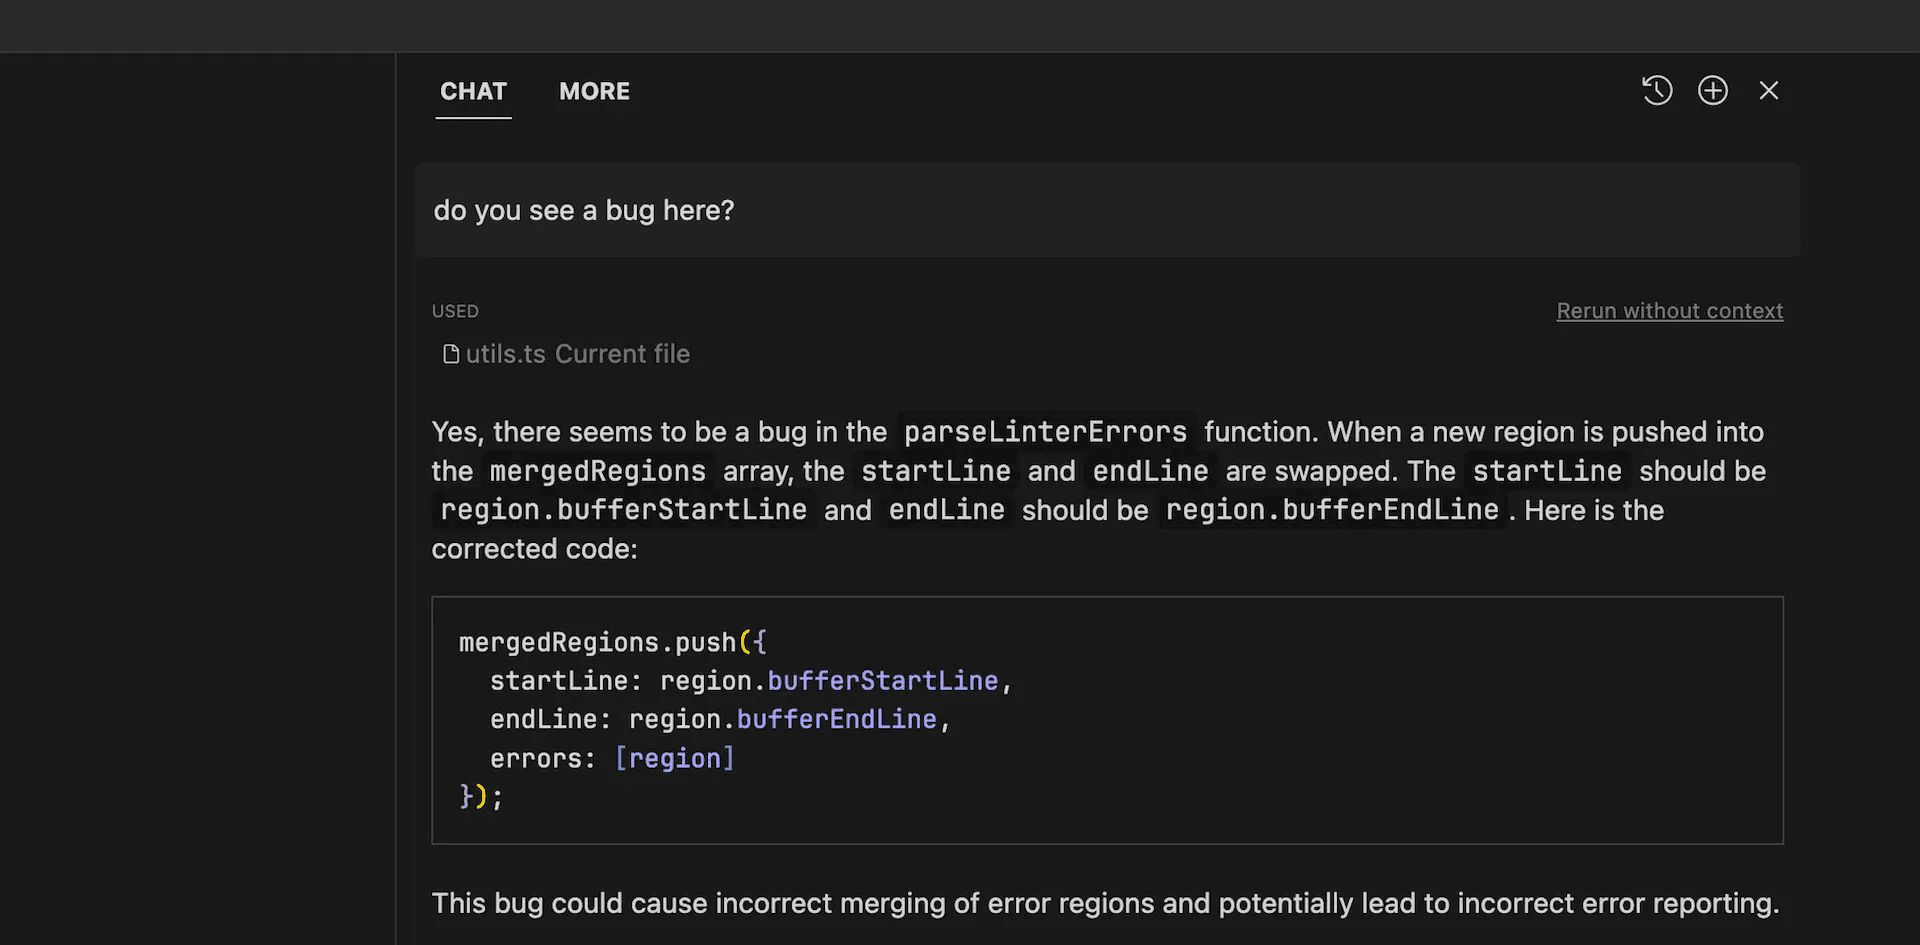
Lets you talk to an AI that can see your code base. Chats can always see your current file and cursor, so you can ask it some questions, such as: "Is there an error here?" You can add specific code blocks to the context using Command+Shift+L or "@". You can use Command+Enter to chat with your entire code base.
@ symbol:
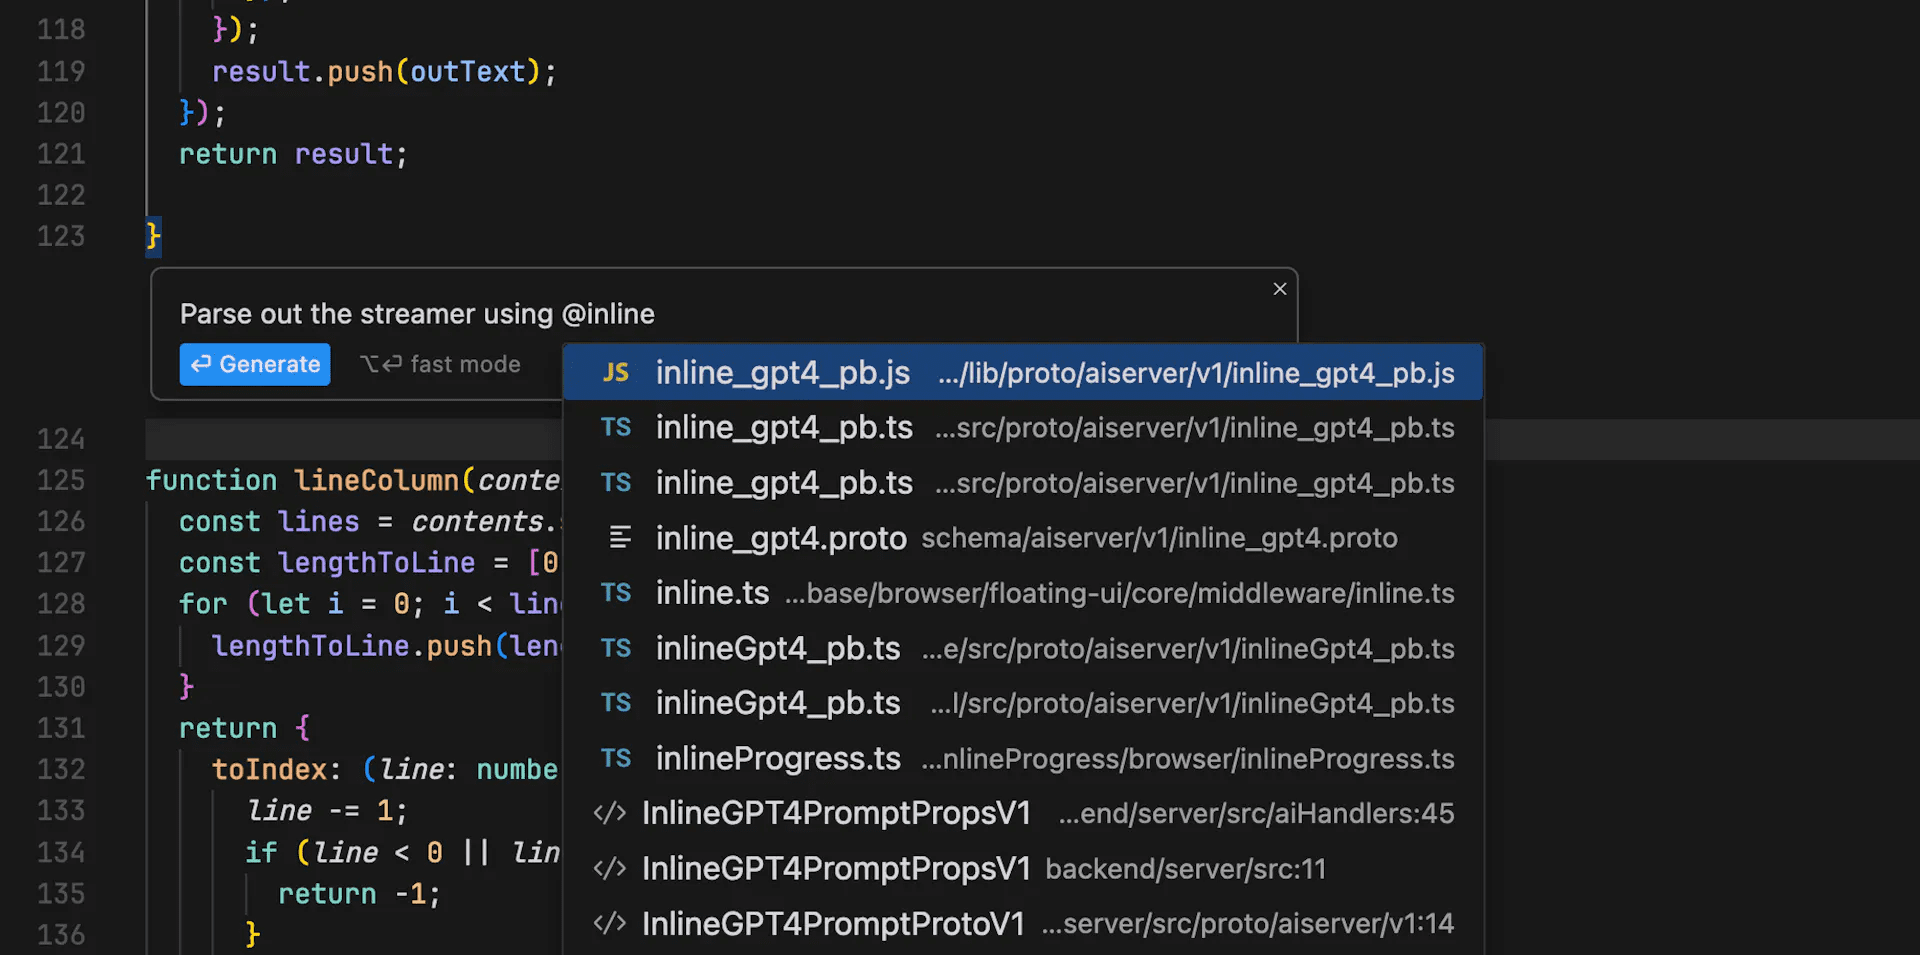
Lets you easily display code to the AI. Try typing "@" in Command+K or chat to get a drop-down list of all files and code symbols in the folder. You can use it to generate code with specific dependencies ("using the same style as @ErrorPopup") or asking the file ("What do @inlineDiffService.ts do").
Codebase Answers:
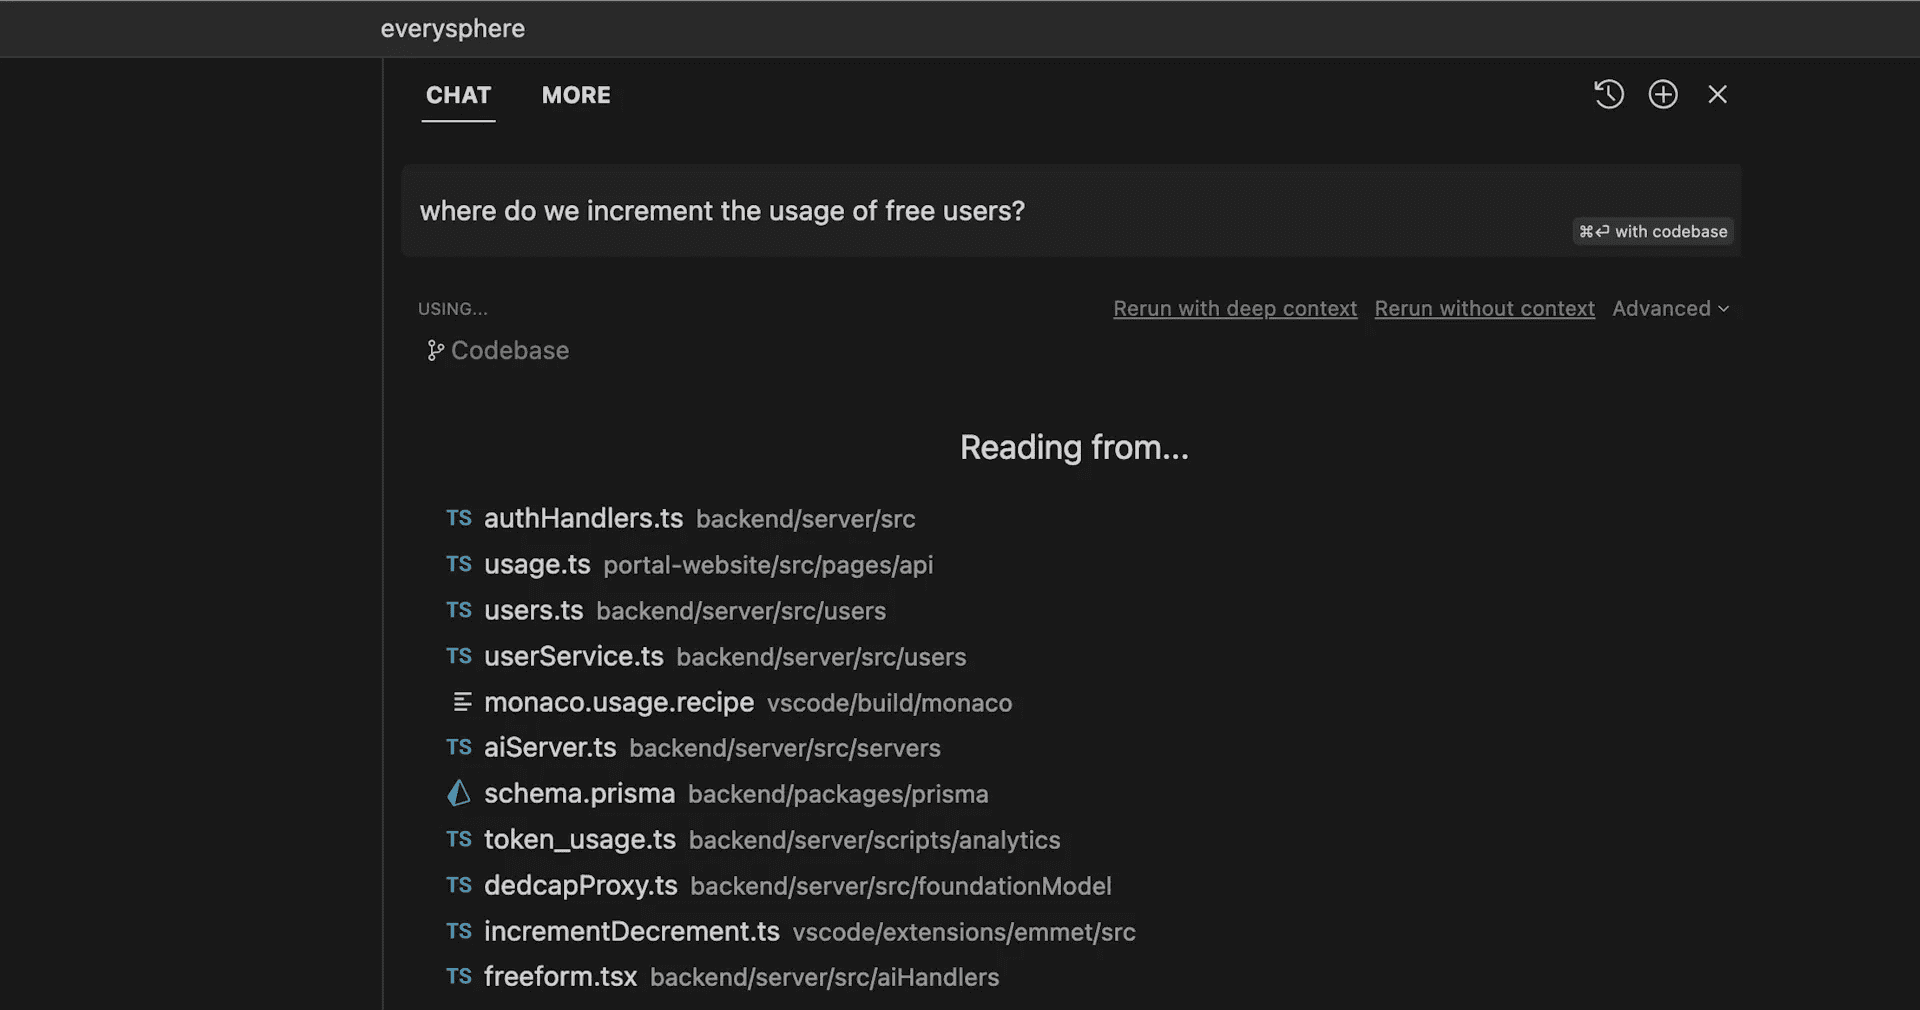
Lets you ask AI questions about your entire code base. To use them, enter Command+Enter in the chat or click the "with codebase" button in the input box. You can ask questions like "Where is the undo redo logic?" or "How do we process authentication tokens on the client?"
Docs
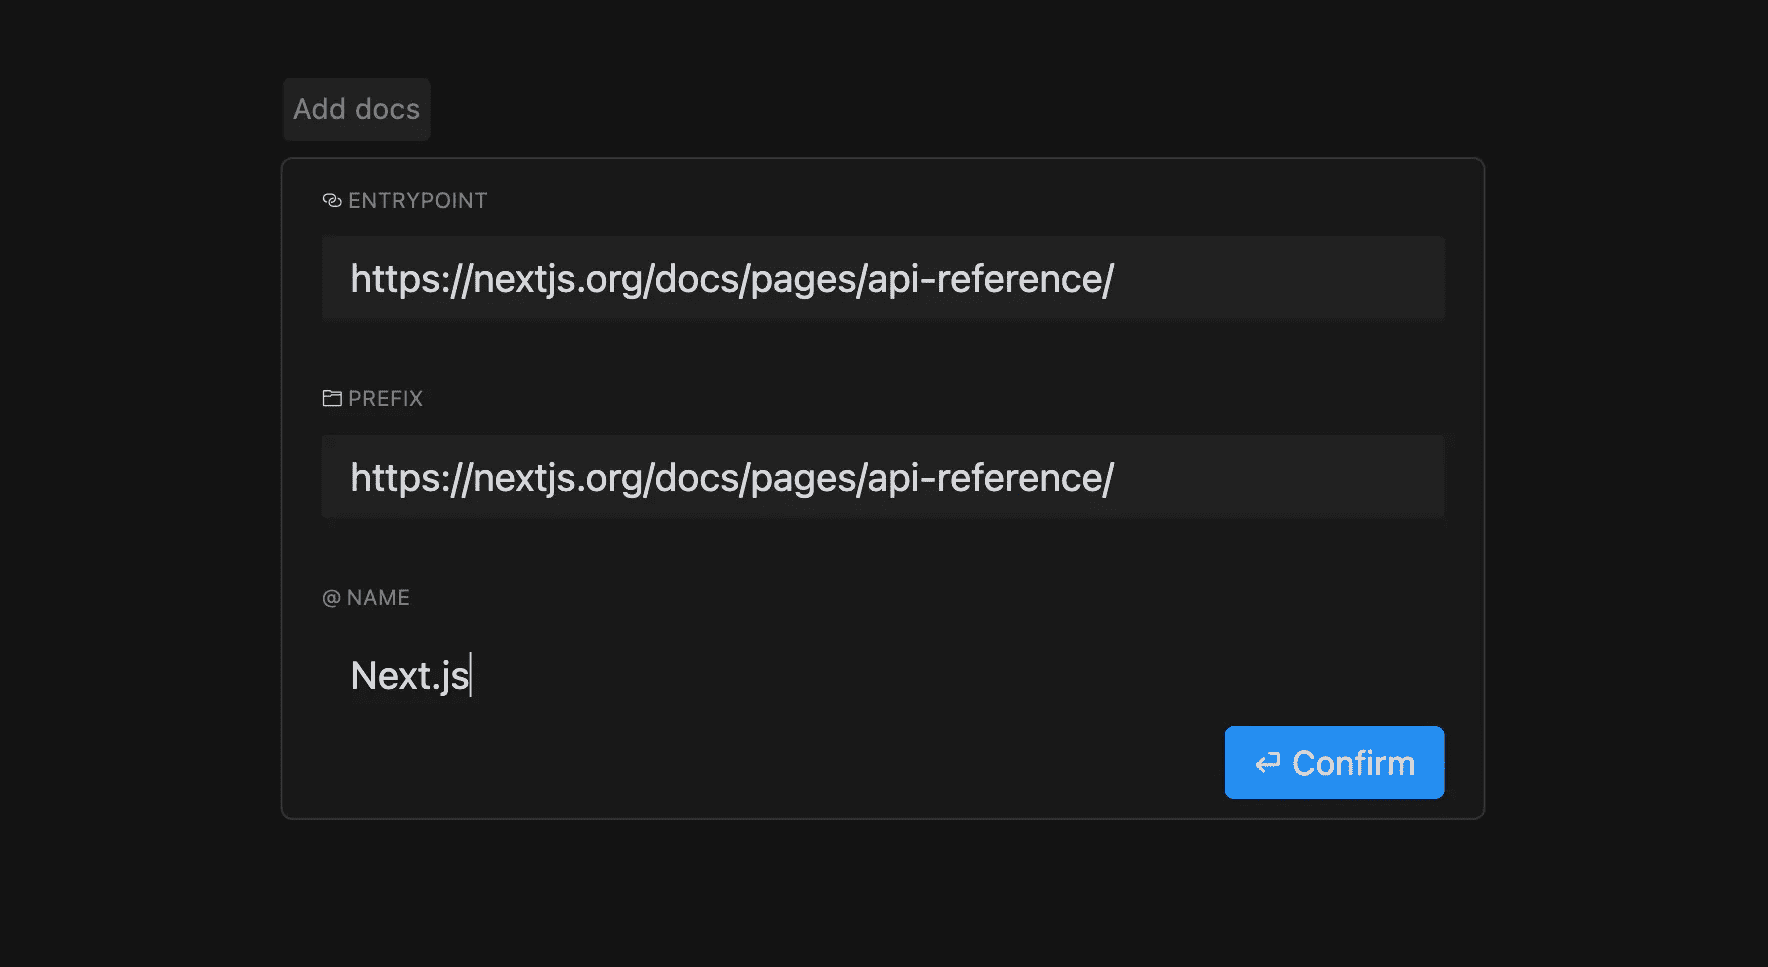
This feature can improve AI's understanding of third-party libraries. To use the document, enter @LibraryName in the chat or Command K. To get Cursor to crawl custom documents, enter "@Add" in Command K or chat. You will specify the starting point of the crawl and the prefix that all crawled URLs should follow.
Auto-Debug:
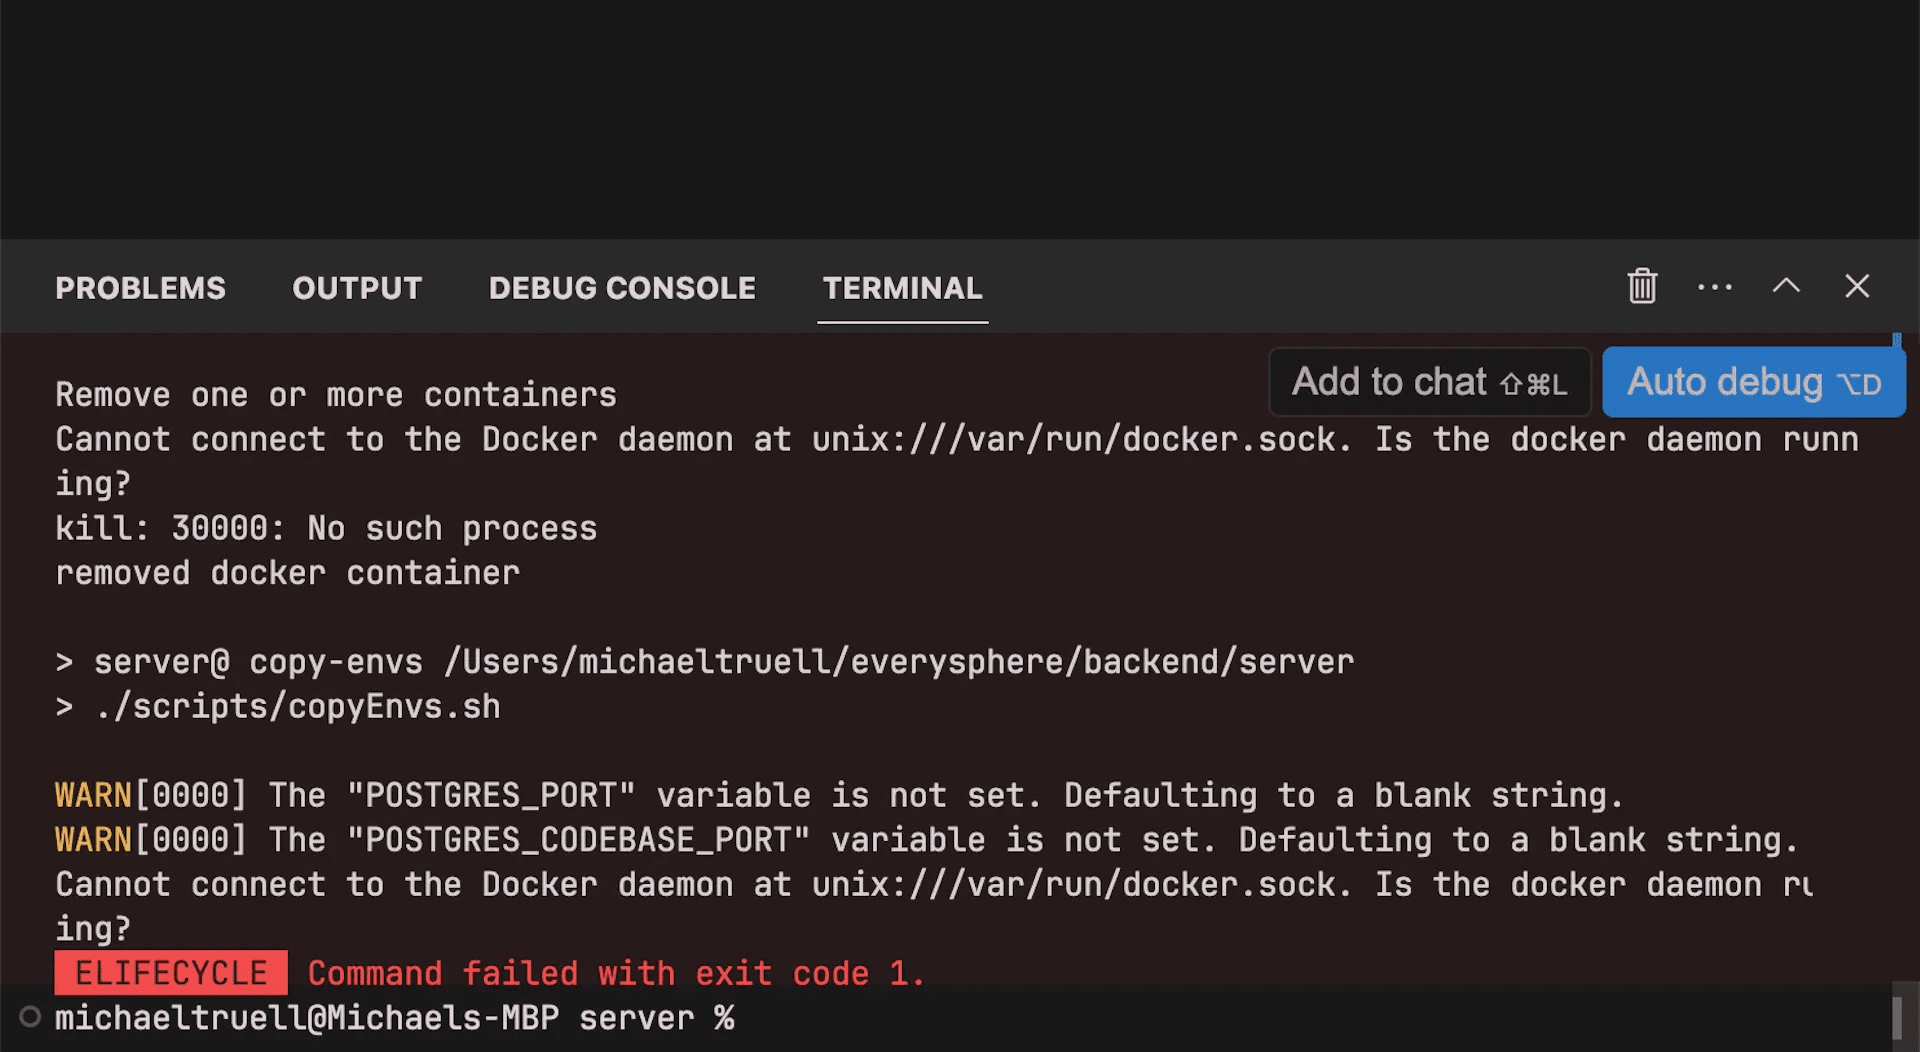
Auto-debug is a proxy for fixing errors in Cursor's terminal. To use it, click the blue "Auto-debug" button after the terminal error. After clicking, the AI will view your file and enter a thinking chain to try to solve the problem.
Fix Lints:
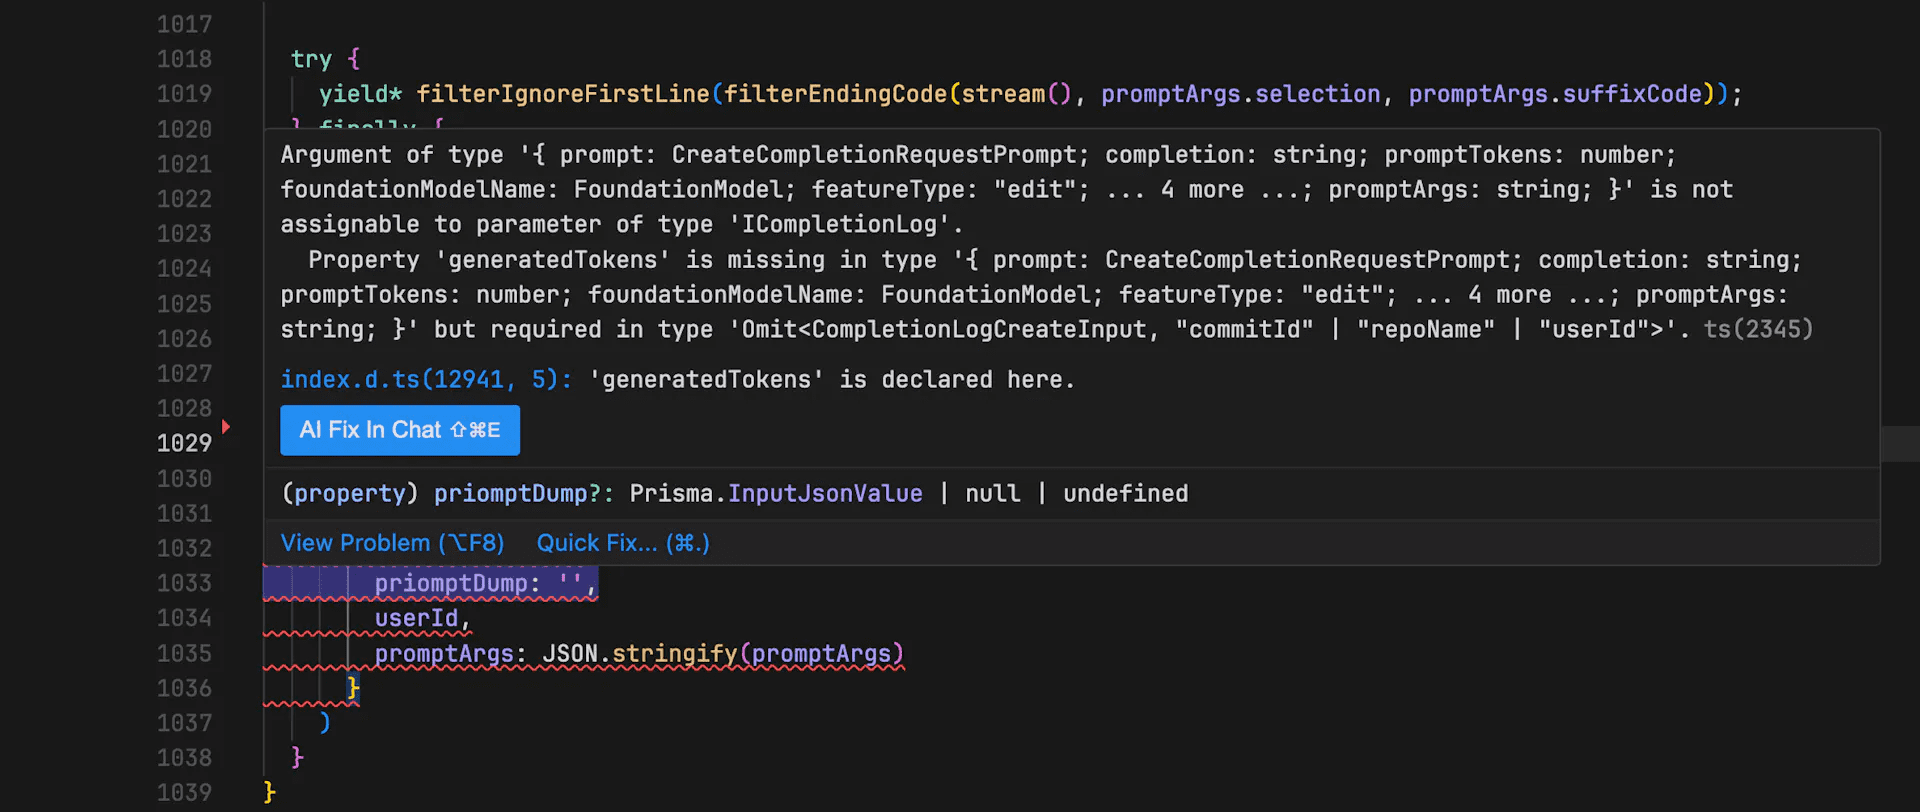
Cursor helps you fix lint errors quickly. Simply hover over any lint errors and click the blue "Fix" button that appears. An AI response will appear in the chat. No more squinted at complicated Typescript or Rust mistakes!
@ Common Symbol Functions
In order to provide context information to large language models more conveniently, Cursor has different @ annotations built in. Using @ annotations can easily inject different types of context information into your conversation.
@ Annotations are common and can be used in all conversation windows; some are special, and I will make additional instructions when mentioned.
Note: In fact, Github Copilot also has similar functions, but it is not as complete as Cursor.
1. @Files annotation, passing the context of the specified code file
When you enter @Files annotation in the dialog box, Cursor will automatically pop up the search list of your code repository. You can enter the file name you want to import the context, and then press the confirmation key, and the content in the corresponding file will be automatically injected into the context at that time:

2. @Code annotation, passing the context of the specified code block
Code annotation provides more accurate code snippets. The use of @ annotation is similar, and a corresponding search box will pop up. After entering the keyword, you can select the corresponding code block in the index list.
The identification of code blocks is determined by the LSP of your development environment and is most accurate in most cases:

3. @Docs annotation, get the context from the official documentation of the function or library
@Docs annotation can get context from the official documentation of a function or library. Currently, it can only get context from accessible online documents. Therefore, unless you can complete an online address, it is useless~ I personally think this function is not very useful.
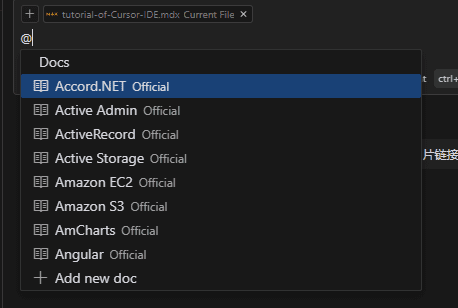
@Docs annotation, usually requires you to manually import documents
4. @Web annotation to get context from search engine search content
@Web Annotation is similar to a method that will by default search your question first and then extract the context from the search results to feed LLM. However, because Cursor has not made any public, transparent and specific implementation methods, it has not adjusted properly, and in fact, the effect of use is getting better and worse.
If you encounter problems, you want to be lazy and report an error if you don’t open the web page or the answers of the big model cannot solve the problem, you can use this annotation directly.
5. @Folders annotation, passing the context of file directory information
@Folders annotation can provide relevant information about the file directory. If you encounter any path problems, you can consider using this annotation to find solutions from the big model.

6. @Chat annotation, annotation that can only be used in the code generation window in the file
@Chat annotation can only be used in the code generation window in the file (window opened by CTRL + K). It can pass the conversation content in the dialog window opened to the right to the big model as context.
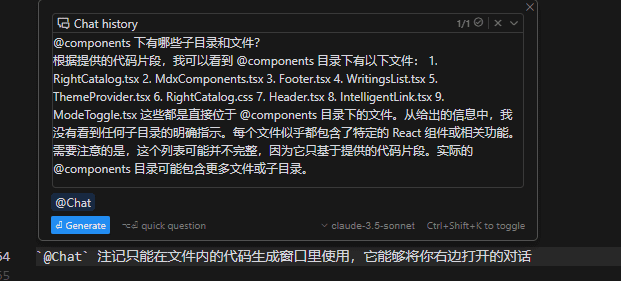
7. @Definitions annotation, annotation that can only be used in the code generation window in the file
Like @Chat annotation, @Definitions annotation can only be used in the code generation window in the file. It will pass the relevant definitions of variables and types involved in the line of code where your cursor stays as context to the big model, similar to @Code annotation.
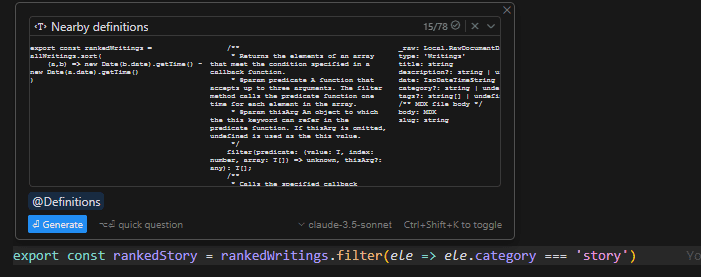
8. @Git annotation can only be used in the dialog window
A dialogue window refers to a dialogue window that opens through CTRL + L and CTRL + I. @Git annotation can pass the commit history of your current Git repository as context to the big model.
It feels more suitable for using when checking war criminals during code collaboration.
9. @Codebase annotation can only be used in the dialog window, and is used to scan the corresponding file in the code warehouse to pass in
Codebase annotations are actually not very useful. Rather than scanning the code warehouse, it is better to say that it is to find the context of the file you want from the code warehouse, that is, CodebaseFilter.
I feel that it will not be used in normal development because it needs to pass filter conditions and set filter parameters:
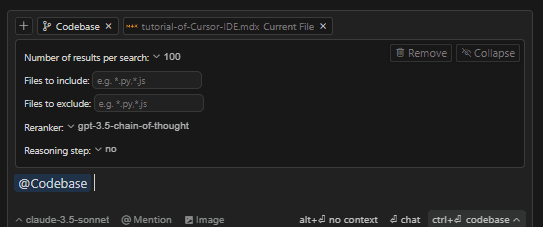
@Codebase annotation requires you to pass information such as quantity, model used when filtering/sorting
It is estimated that the difference between it and the CTRL + enter shortcut key is that you can customize the filtering rules of the query
Summarize
This article introduces how newbies can quickly get started with Cursor download and use. Cursor integrates LLM compiler and is very easy to get started. After using it for a period of time, it gradually formed a tacit understanding with Cursor in programming. Compared with the previous GitHub copylot, Cursor has stronger and more comprehensive capabilities.

