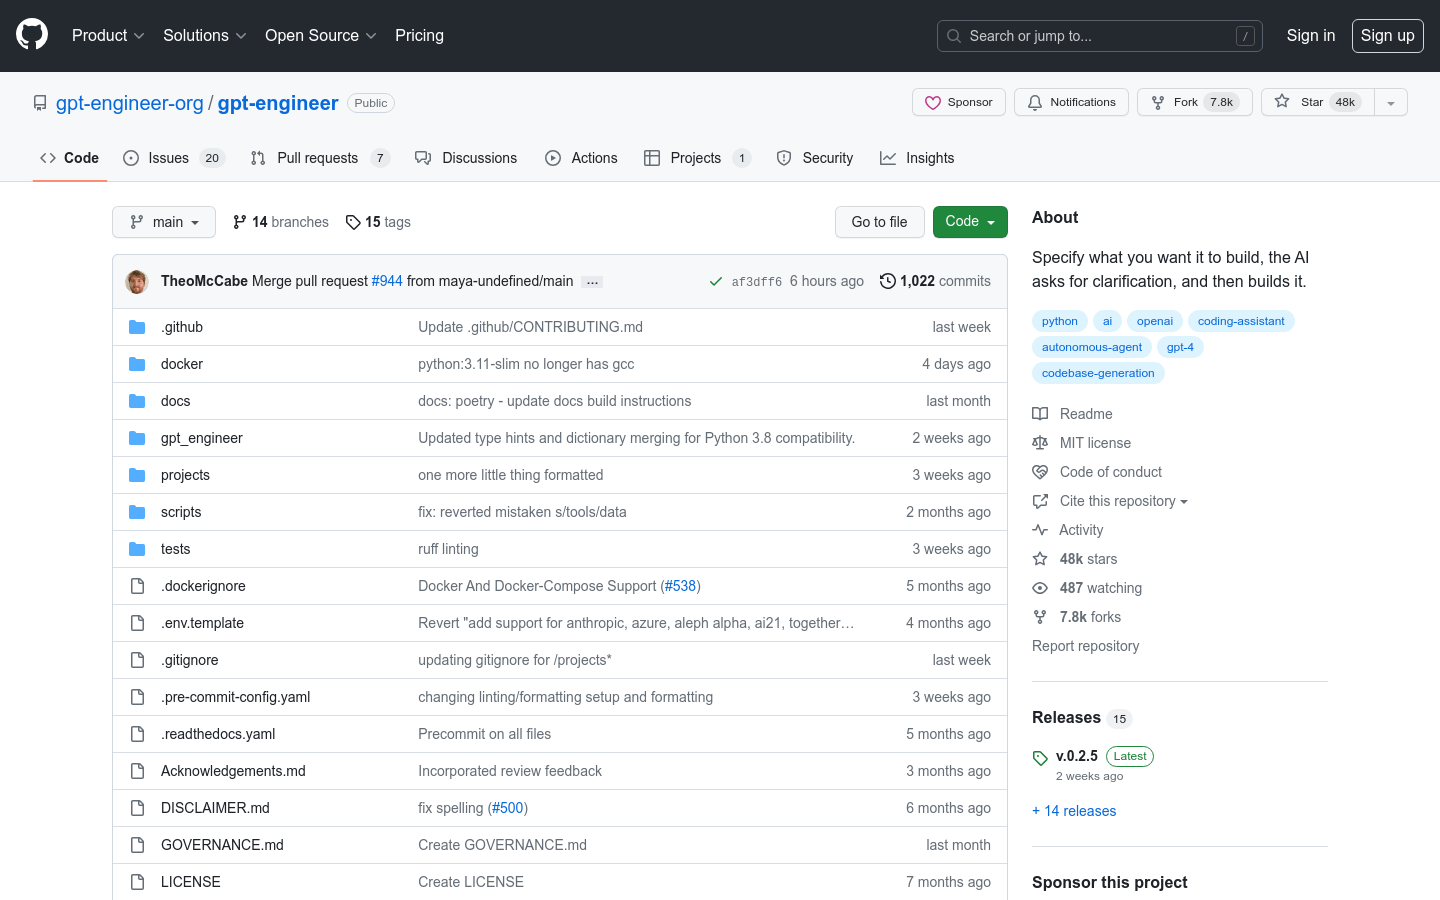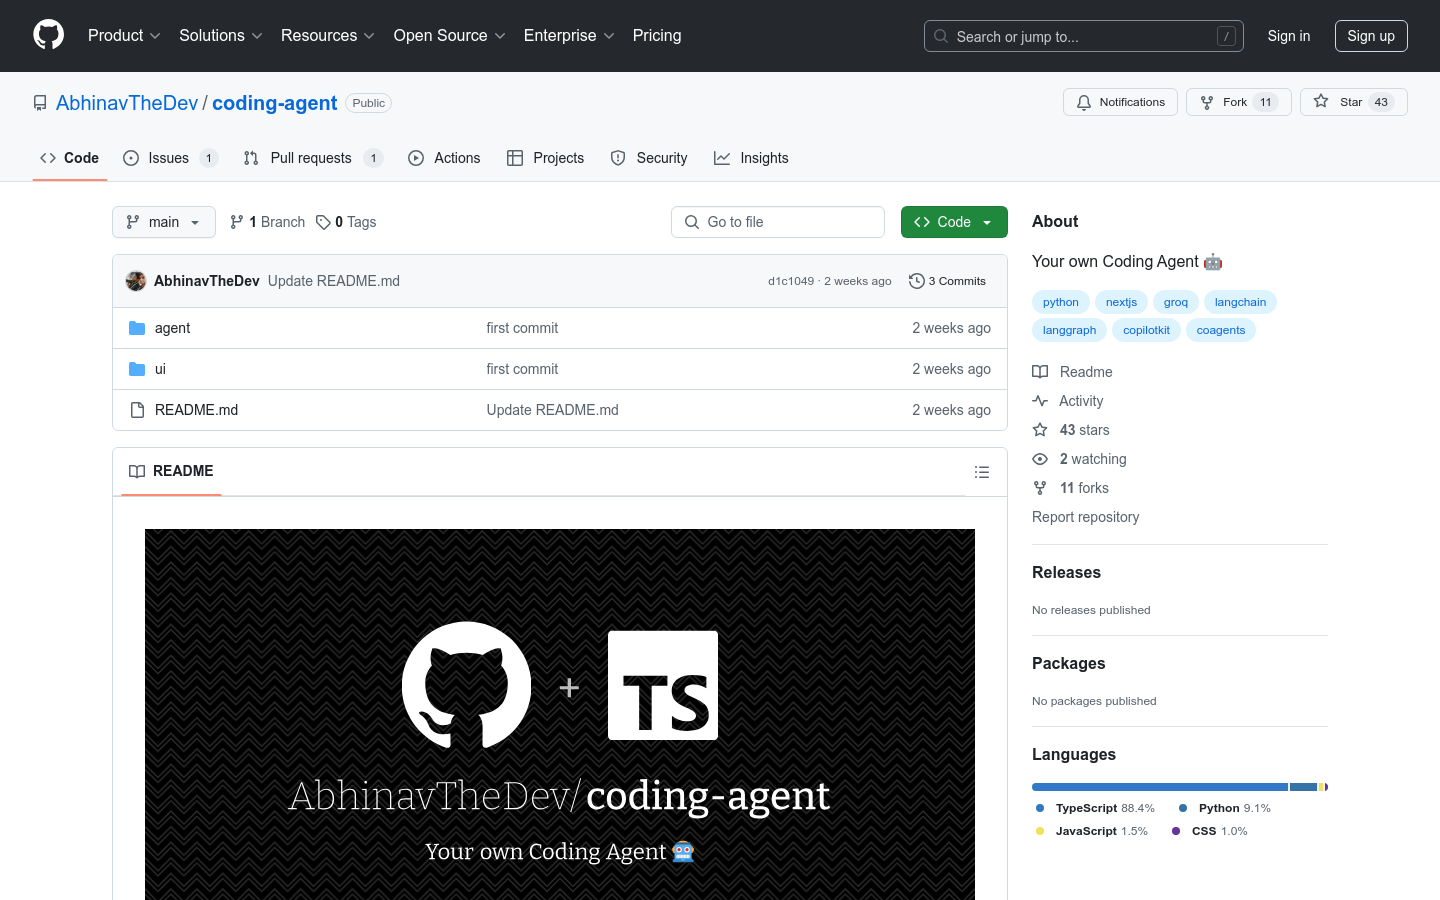
coding-agent is an open source programming assistant tool designed to simplify developers' tasks by integrating advanced programming assistive technologies. It uses LangGraph proxy technology to generate high-quality code responses. The tool is built on Next.js and CopilotKit for efficiency and ease of use. It is suitable for developers to quickly solve problems, generate code snippets, and optimize development processes in daily programming. As an open source project, it provides developers with a flexible and customizable programming environment while continuously optimizing and expanding functionality through the power of the community.
Demand population:
"The product is mainly aimed at developers, especially programmers who need to quickly generate code snippets, solve programming problems, or optimize development processes. It is suitable for individual developers and teams who want to use artificial intelligence to improve programming efficiency, whether it is during the learning stage or in real project development."
Example of usage scenarios:
Developers encounter problems when writing code and quickly get the solution through coding-agent .
Use coding-agent to generate code snippets, saving time for manual writing.
The team uses the intelligent prompt function of coding-agent in project development to improve collaboration efficiency.
Product Features:
Integrate LangGraph proxy technology to provide intelligent code generation and question answering
Built based on Next.js and CopilotKit to ensure high performance and scalability
Support developers to customize environments and promote community contribution through open source models
Provides a simple user interface, which is convenient for developers to get started quickly
Supports multiple programming languages to meet the needs of different development scenarios
Tutorials for use:
1. Get GROQ_API_KEY to access related services.
2.Clone the coding-agent repository to the local area.
3. Go to the agent directory, install the dependencies and create the .env file to configure the API key.
4. Start the agent service and run demo mode.
5. Enter the ui directory, install the front-end dependencies and start the Next.js project.
6. Access the project address in your browser and start using the Programming Assistant function.
