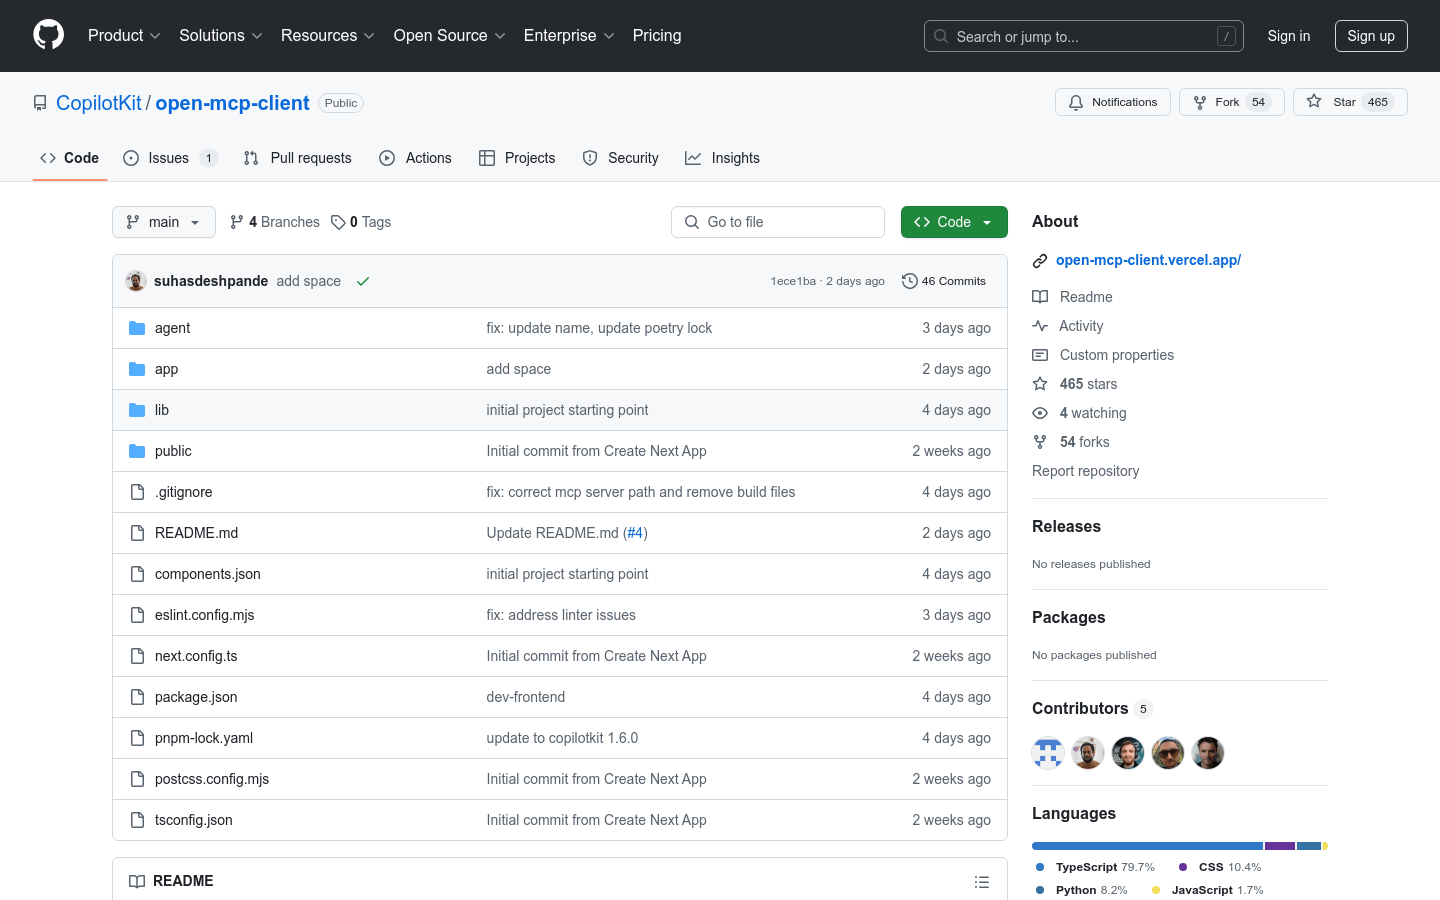
open-mcp-client is an open source project designed to provide client support for multi-cloud platform (MCP). It combines LangGraph proxy and CopilotKit-based front-end applications to support interaction and tool calls with MCP servers. The project is developed using TypeScript, CSS, Python and JavaScript, emphasizing development efficiency and user experience. It is suitable for developers and enterprises and is used to manage and interact with multi-cloud resources. Open source is free, suitable for users who want to develop and deploy quickly in a multi-cloud environment.
Demand population:
"The product is suitable for developers and enterprise users, especially those teams that require resource management and tool calls in a multi-cloud environment. It provides a flexible development framework that supports rapid development and deployment, suitable for users who want to improve development efficiency and user experience."
Example of usage scenarios:
Developers can use LangGraph proxy to connect to the MCP server and call tools to implement automated tasks.
Enterprise users can manage multi-cloud resources through front-end applications to improve resource management efficiency.
Developers can quickly start the development environment locally to develop and debug front-end and proxy services.
Product Features:
Support LangGraph proxy, connect to MCP server and call tools
Provide front-end applications based on CopilotKit to realize UI and state synchronization
Supports multi-language environment variable configuration, easy to deploy flexibly
Provides independent operation of front-end and proxy services for easy debugging and development
Supports rapid start of development environment locally, convenient and fast iteration
Tutorials for use:
1. Set environment variables: Create a .env file in the project root directory and add LANGSMITH_API_KEY.
2. Create a .env file in the agent directory and add OPENAI_API_KEY and LANGSMITH_API_KEY.
3. Start the development environment: Run pnpm run dev-frontend and pnpm run dev-agent on the terminal, and start the front-end and proxy services respectively.
4. Visit http://localhost:3000 to view the application in the browser.
5. Develop and debug as needed, adjust configuration or add new features.
