What is x-flux-comfyui?
x-flux-comfyui is an AI model tool integrated into ComfyUI that supports various functionalities such as model training, loading, and image processing. This tool features a low memory mode to optimize VRAM usage, making it suitable for running AI models on resource-constrained devices. Additionally, it includes IP Adapter which works with OpenAI's VIT CLIP model to enhance the diversity and quality of generated images.
Who can benefit from using x-flux-comfyui?
This tool is ideal for AI developers and researchers who need a flexible and scalable platform for their projects. The rich custom nodes and model support make it highly versatile. Its low memory mode also makes it perfect for running deep learning models on less powerful hardware.
In what scenarios can x-flux-comfyui be used?
Developers can use x-flux-comfyui in ComfyUI to build custom image style conversion models. Researchers can utilize its low memory mode to run deep learning models on resource-limited devices. Artists can employ the IP Adapter feature with the CLIP model to generate images with specific styles.
What are the key features of x-flux-comfyui?
Supports custom node extensions in ComfyUI for enhanced user interaction.
Offers model training and loading capabilities for easy customization and usage.
Features a low memory mode to optimize VRAM usage across different hardware environments.
Integrates IP Adapter to work with OpenAI’s VIT CLIP model, enhancing image generation results.
Provides pre-trained models for simplified deployment and use.
Supports Git for version control and updates, ensuring continuous improvement.
How do you install and use x-flux-comfyui?
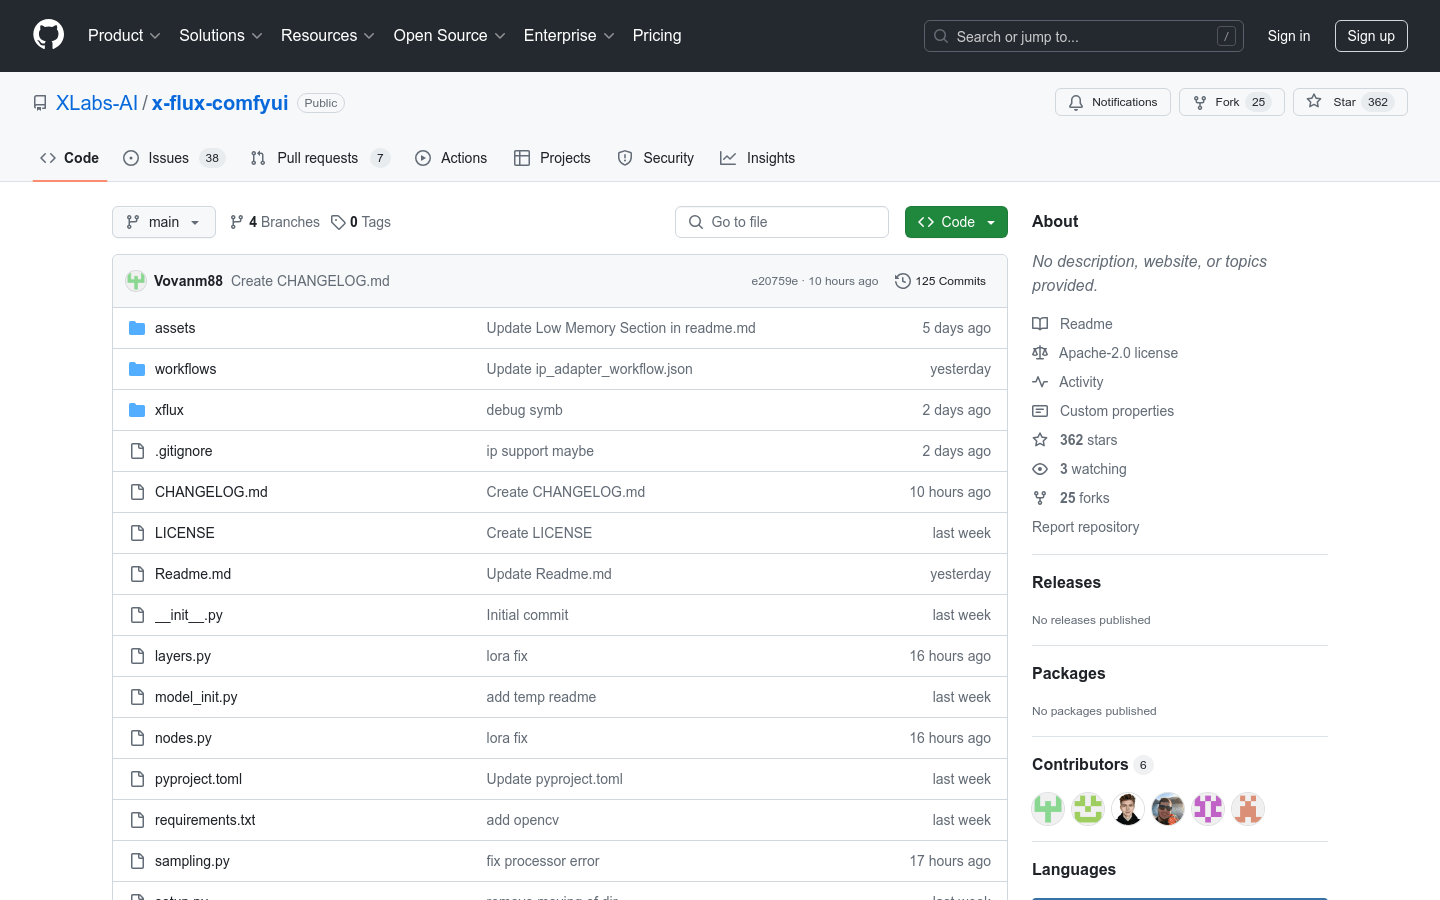
1. Visit the x-flux-comfyui GitHub page and clone or download the code.
2. Follow the installation guide in the README file to place the plugin in the ComfyUI custom node directory.
3. Run the setup.py script to complete the plugin installation.
4. Launch ComfyUI and access x-flux-comfyui through the user interface.
5. Download and install additional pre-trained models or IP Adapter if needed.
6. Use the Git command git pull to update the plugin to the latest version.


