English
English
Install to local: Install ComfyUI on your computer so that you can run ComfyUI locally. This method is basically 0 cost. But if your computer has relatively poor GPU configuration, the speed of raw pictures may be slower.
Command line installation steps
The first step is to install pytorch
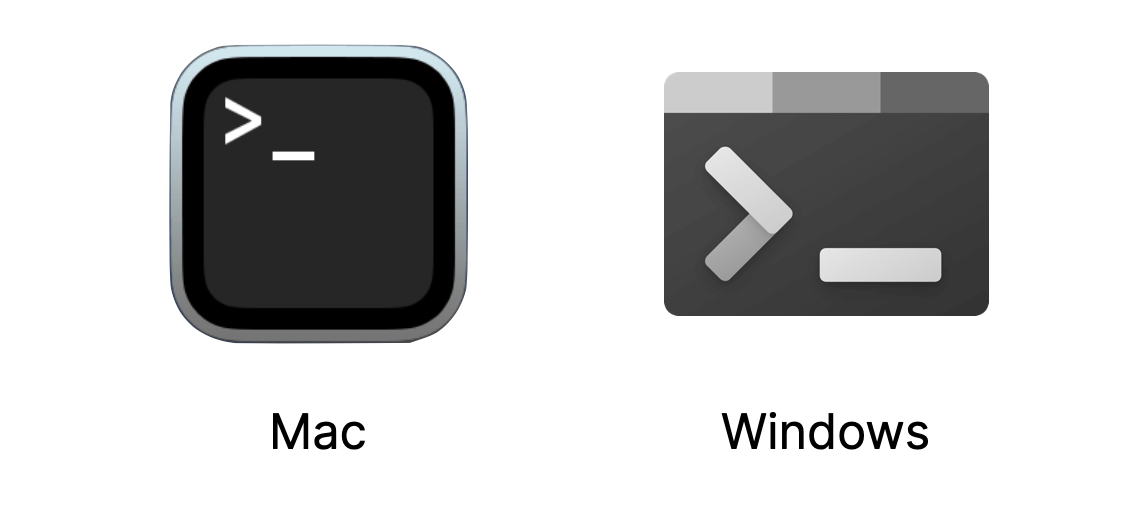
First of all, you need to open the system Terminal, which can usually be found through the system search.
This looks like this on Mac and Windows. Due to the different versions on Windows, it may be different from my screenshots, as long as the name is correct:
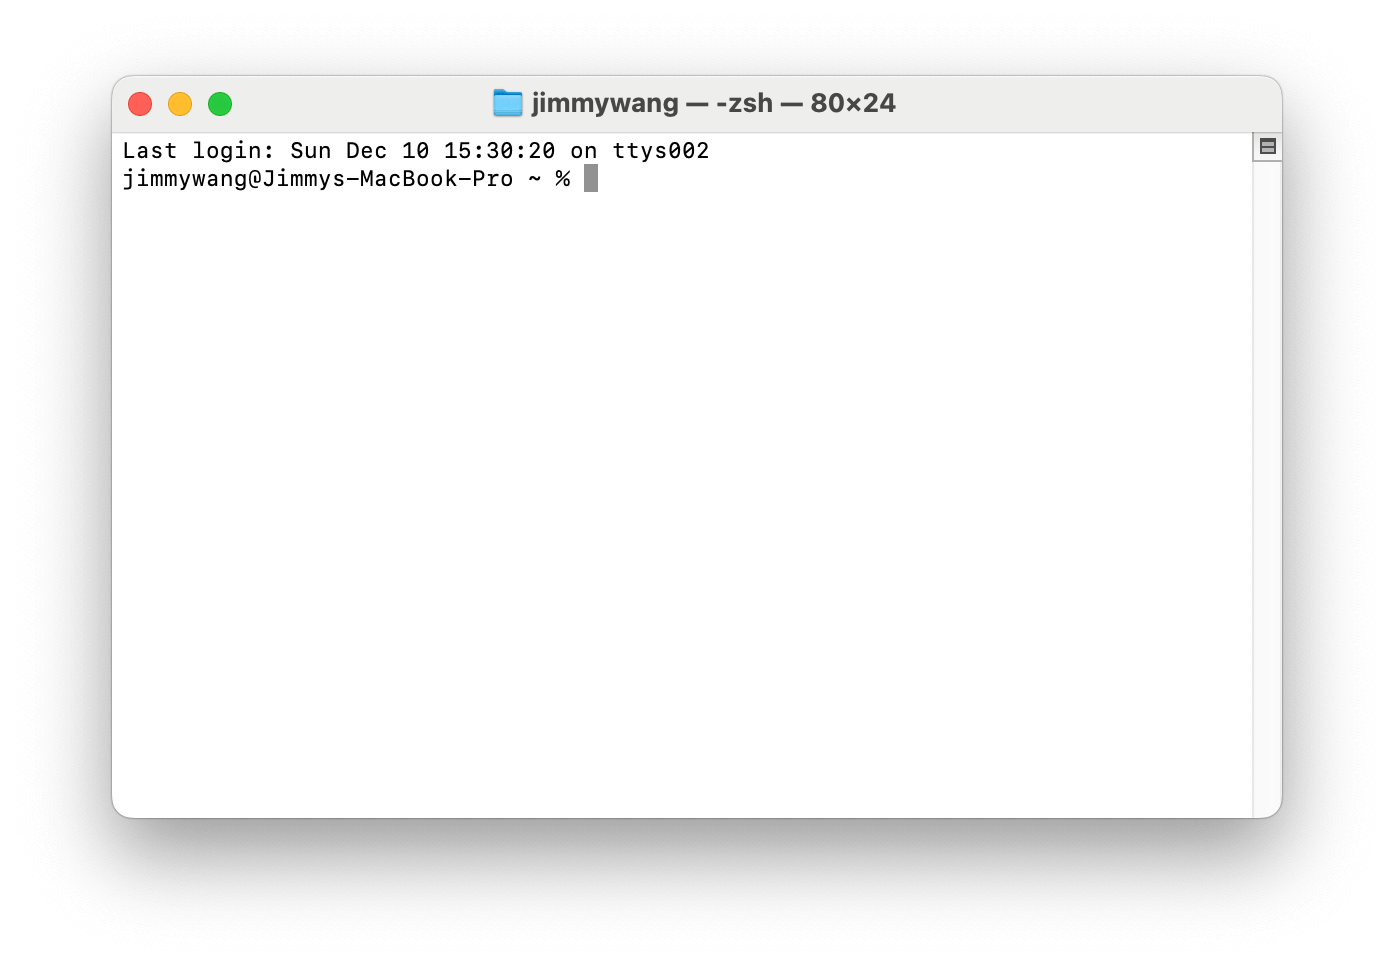
Then open Terminal. No matter what system it is, you should see a similar interface. The UI may have different colors, but there must be a flashing cursor after a string of characters:
At this time, different systems need to enter different commands.
MAC
The installation of a Mac requires inputting different codes according to the chip of your computer.
Download Miniconda3
In the first step, enter the following command:
 # M chip curl -O https://repo.anaconda.com/miniconda/Miconda3-latest-MacOSX-arm64.sh
# x86
curl -O https://repo.anaconda.com/miniconda/Miconda3-latest-MacOSX-x86_64.sh
Install Miniconda3
After downloading, continue to enter the following code and install Miniconda3:
 # M chip sh Miniconda3-latest-MacOSX-arm64.sh
# x86
sh Miniconda3-latest-MacOSX-x86_64.sh
When installing Miniconda 3, you will see "Please, press ENTER to continue", and you need to press Enter. Then you will enter the reading protocol. At this time, you need to keep pressing Enter until “Do you accept the license terms?” is displayed, then enter yes and press Enter. Finally, you will confirm the installed directory. You can basically not change it, just press Enter. If "Thank you for installing Miniconda3!" is displayed, it means that you have completed the installation.
Install pytorch
Finally, whether it is M chip or x86, copy the following code to Terminal:
pip3 install --pre torch torchvision torchaudio --extra-index-url https://download.pytorch.org/whl/nightly/cpu
This step may take longer because it requires downloading and installing some things. Please be patient. When "Successfully installed XXXXX" is displayed, or a series of "Requirement already satisfied" is displayed, it means that you have completed all the installations.
Step 2: Download ComfyUI
This step requires you to pull the ComfyUI code locally. If you know how to Git, please run the following code in Terminal to complete this step:
git clone https://github.com/comfyanonymous/ComfyUI
If you don't know how to use Git, I recommend using Github's client (opens in a new tab) to pull the code, which is a simpler way.
Download Github Desktop and install
After downloading and installing Github Desktop, open the app.
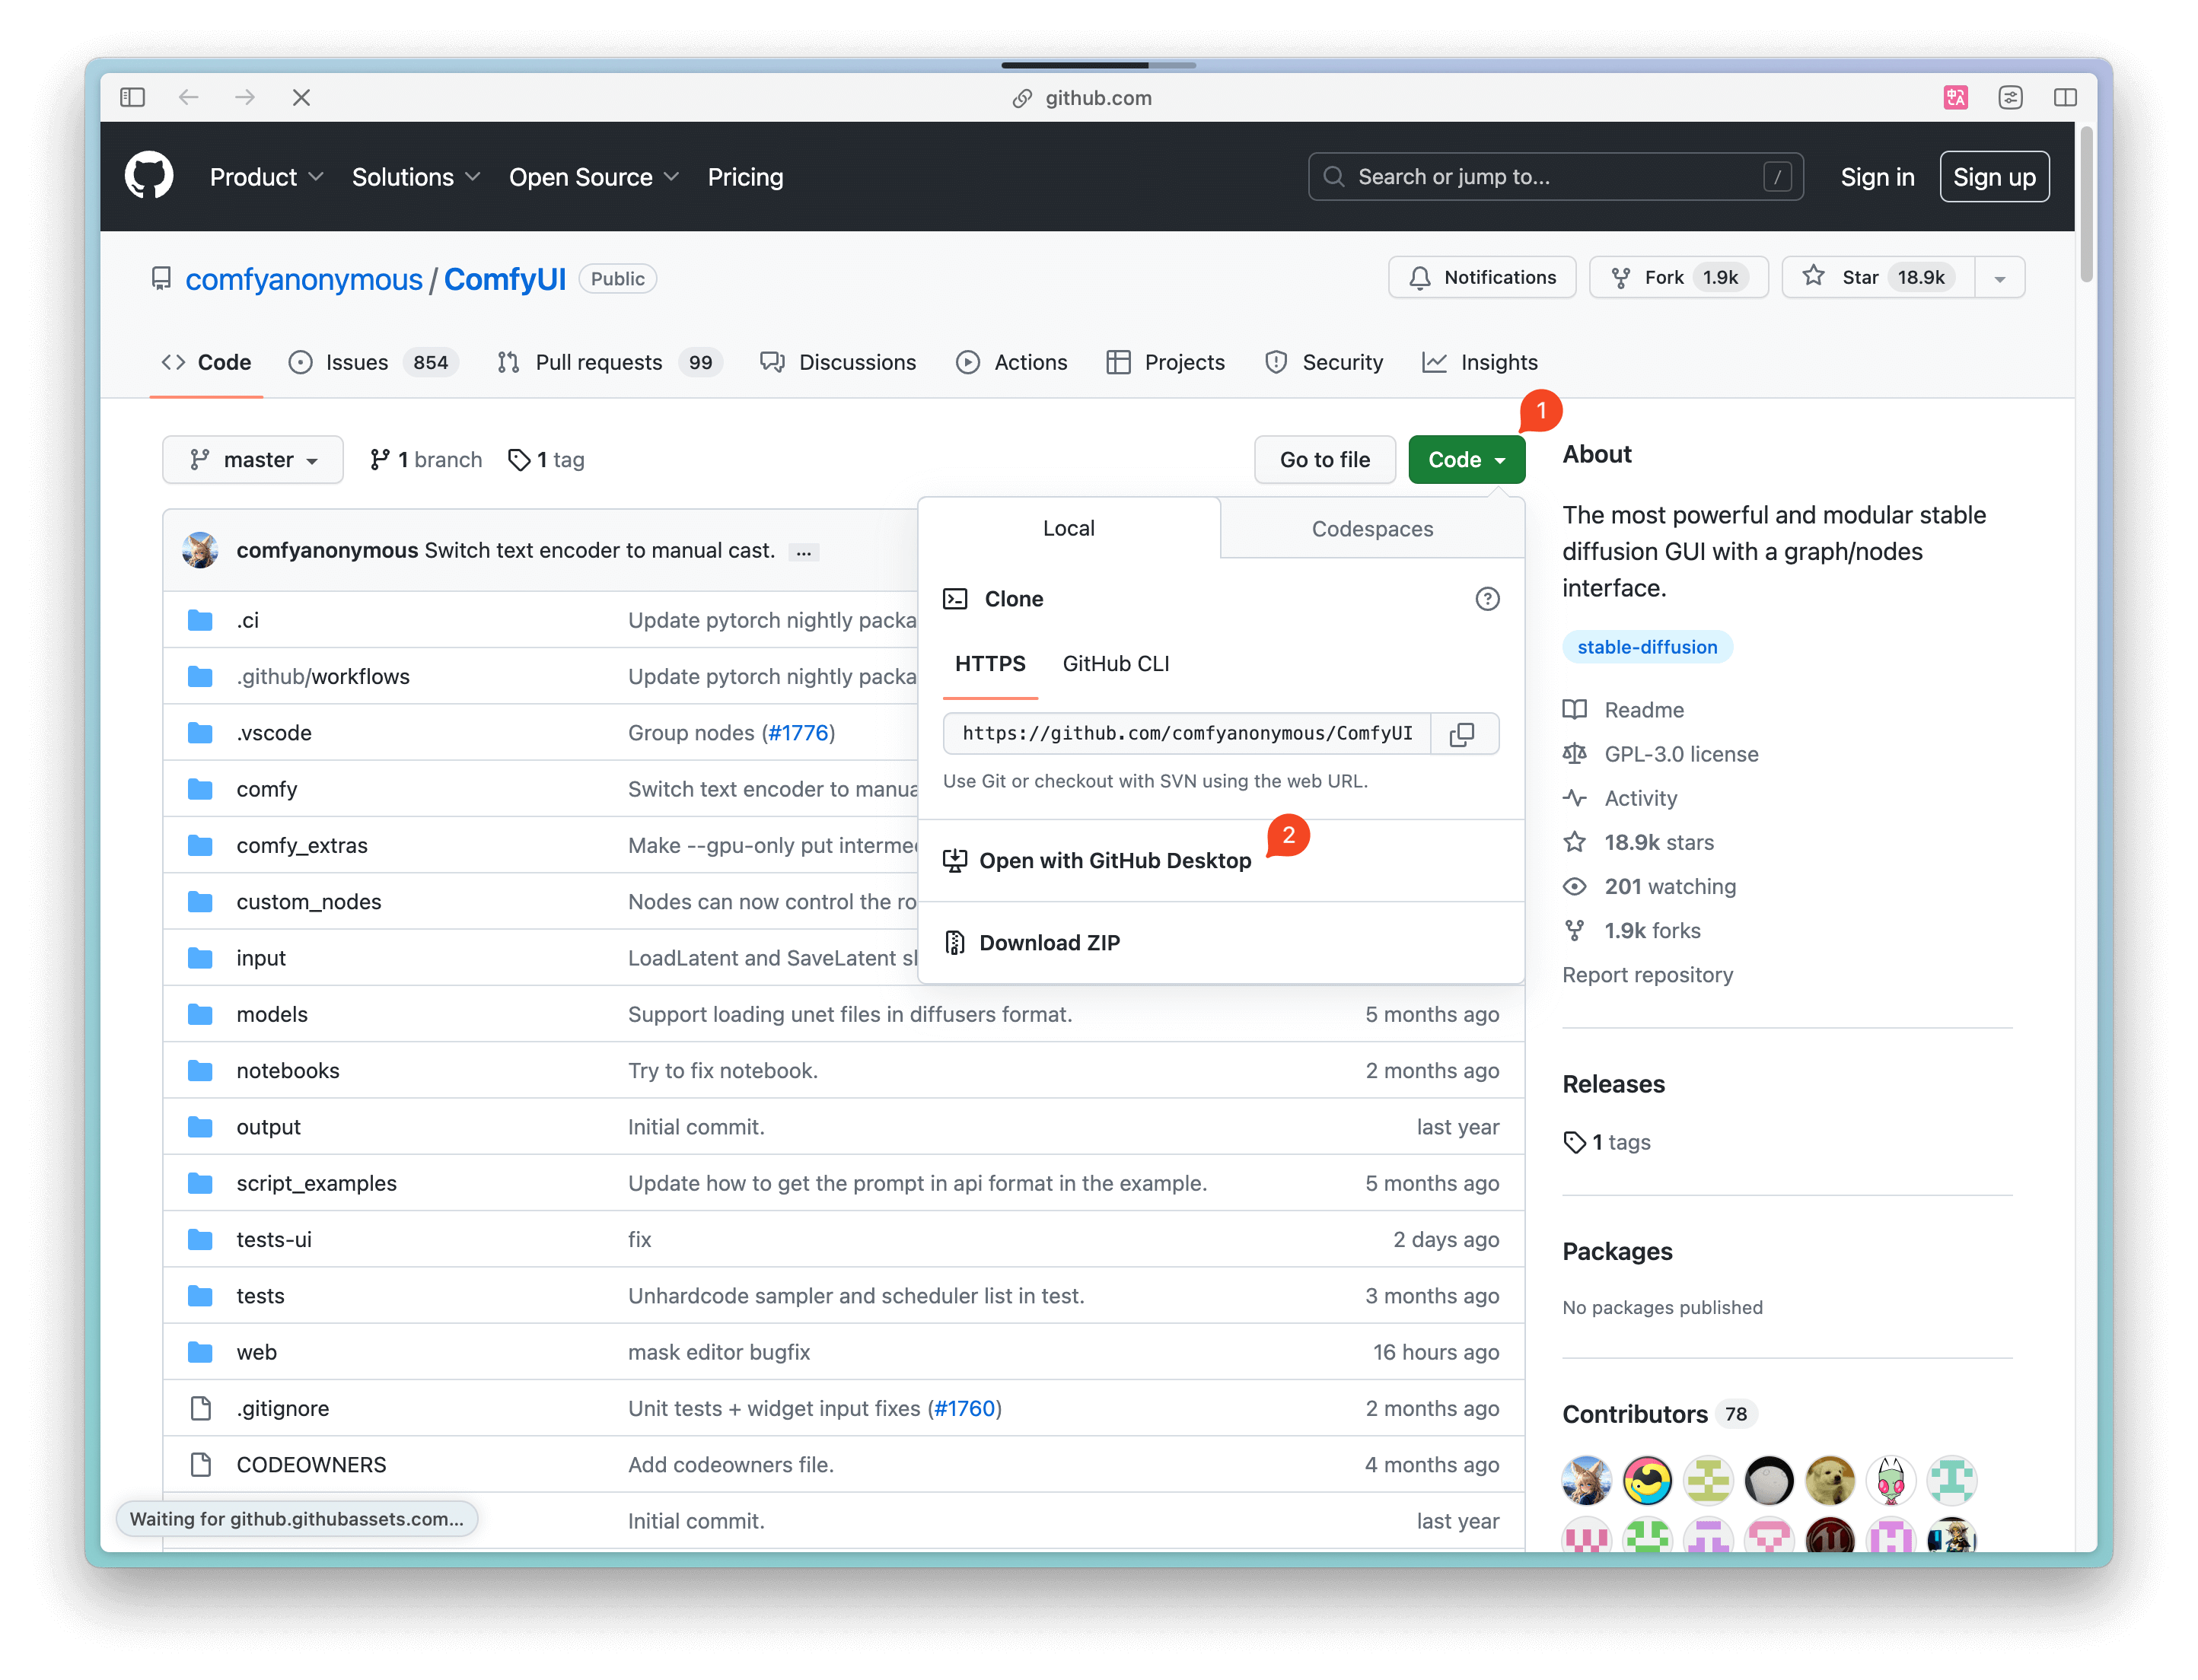
Open the ComfyUI project & download
Then open the Github page of ComfyUI (opens in a new tab), click the green button in the upper right corner (picture ① below), and click "Open with GitHub Desktop" in the menu (picture ② below). At this time, the browser will pop up whether you want to open GitHub Desktop and click "Yes".
Complete the download
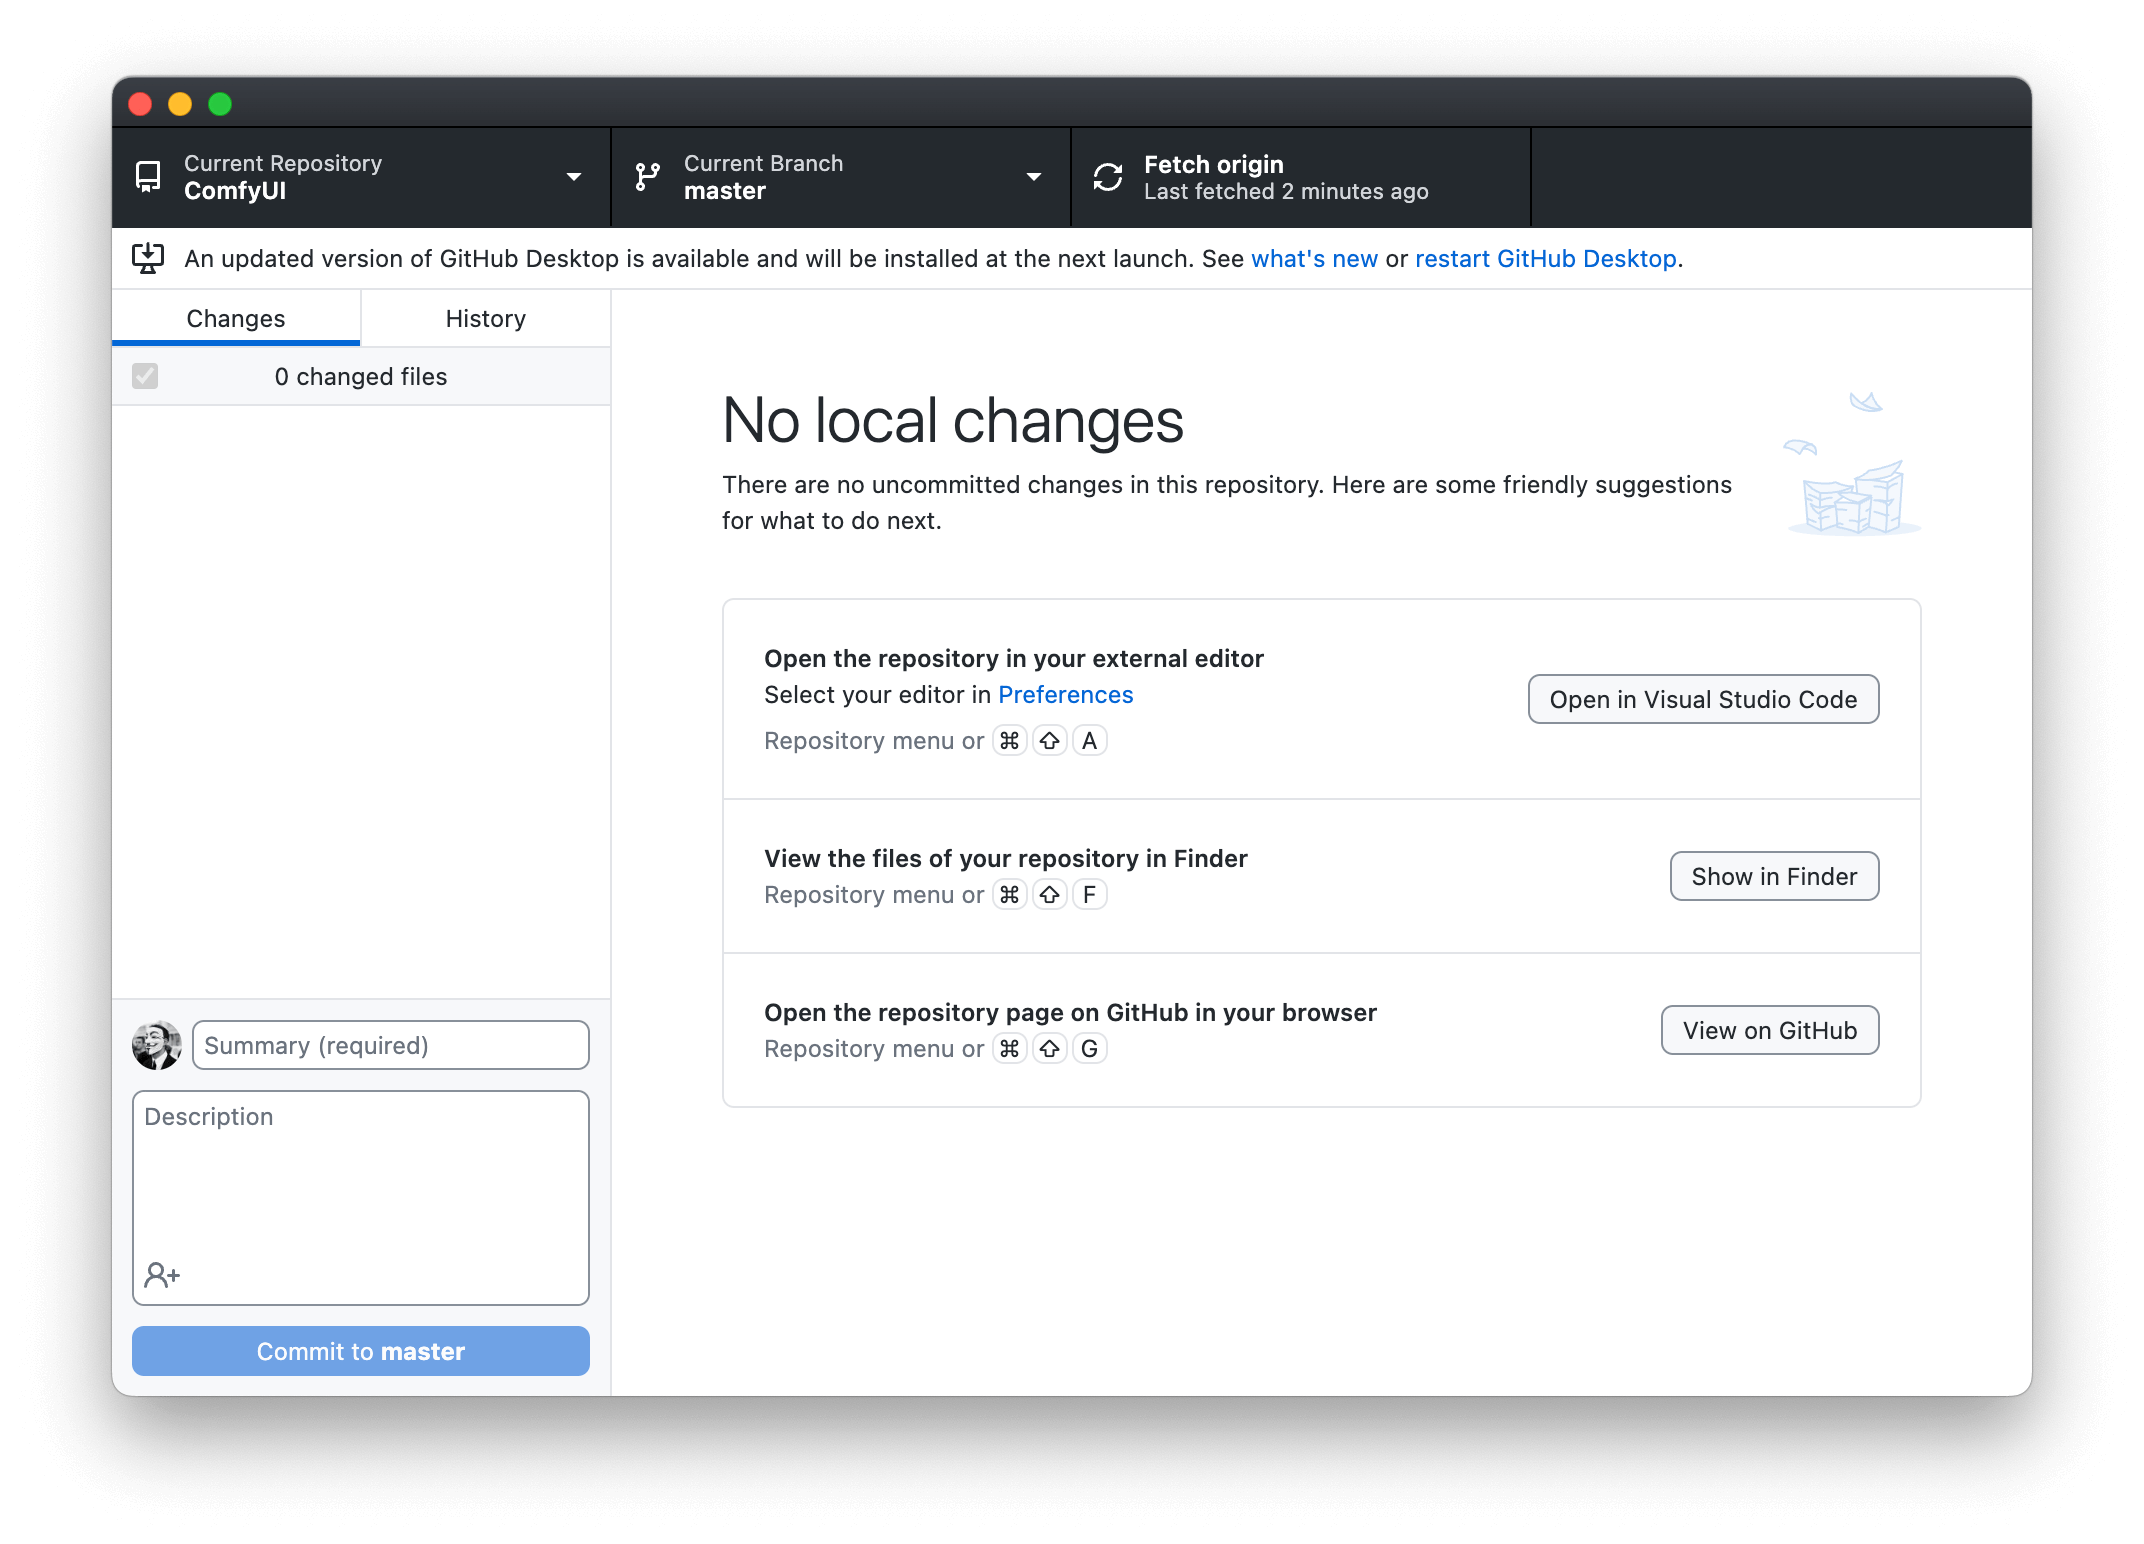
Then GitHub Desktop will let you choose a save location, you can adjust it as needed and click OK. Github Desktop will synchronize the code in the cloud to the local area. If you see the interface like this below, it means that you have completed the code synchronization.
Step 3: Install dependencies
After downloading the code, you need to install the dependencies. There are two ways to install dependencies.
VS Code method (recommended)
If you have installed Visual Studio Code(opens in a new tab), you only need:
Open the project folder
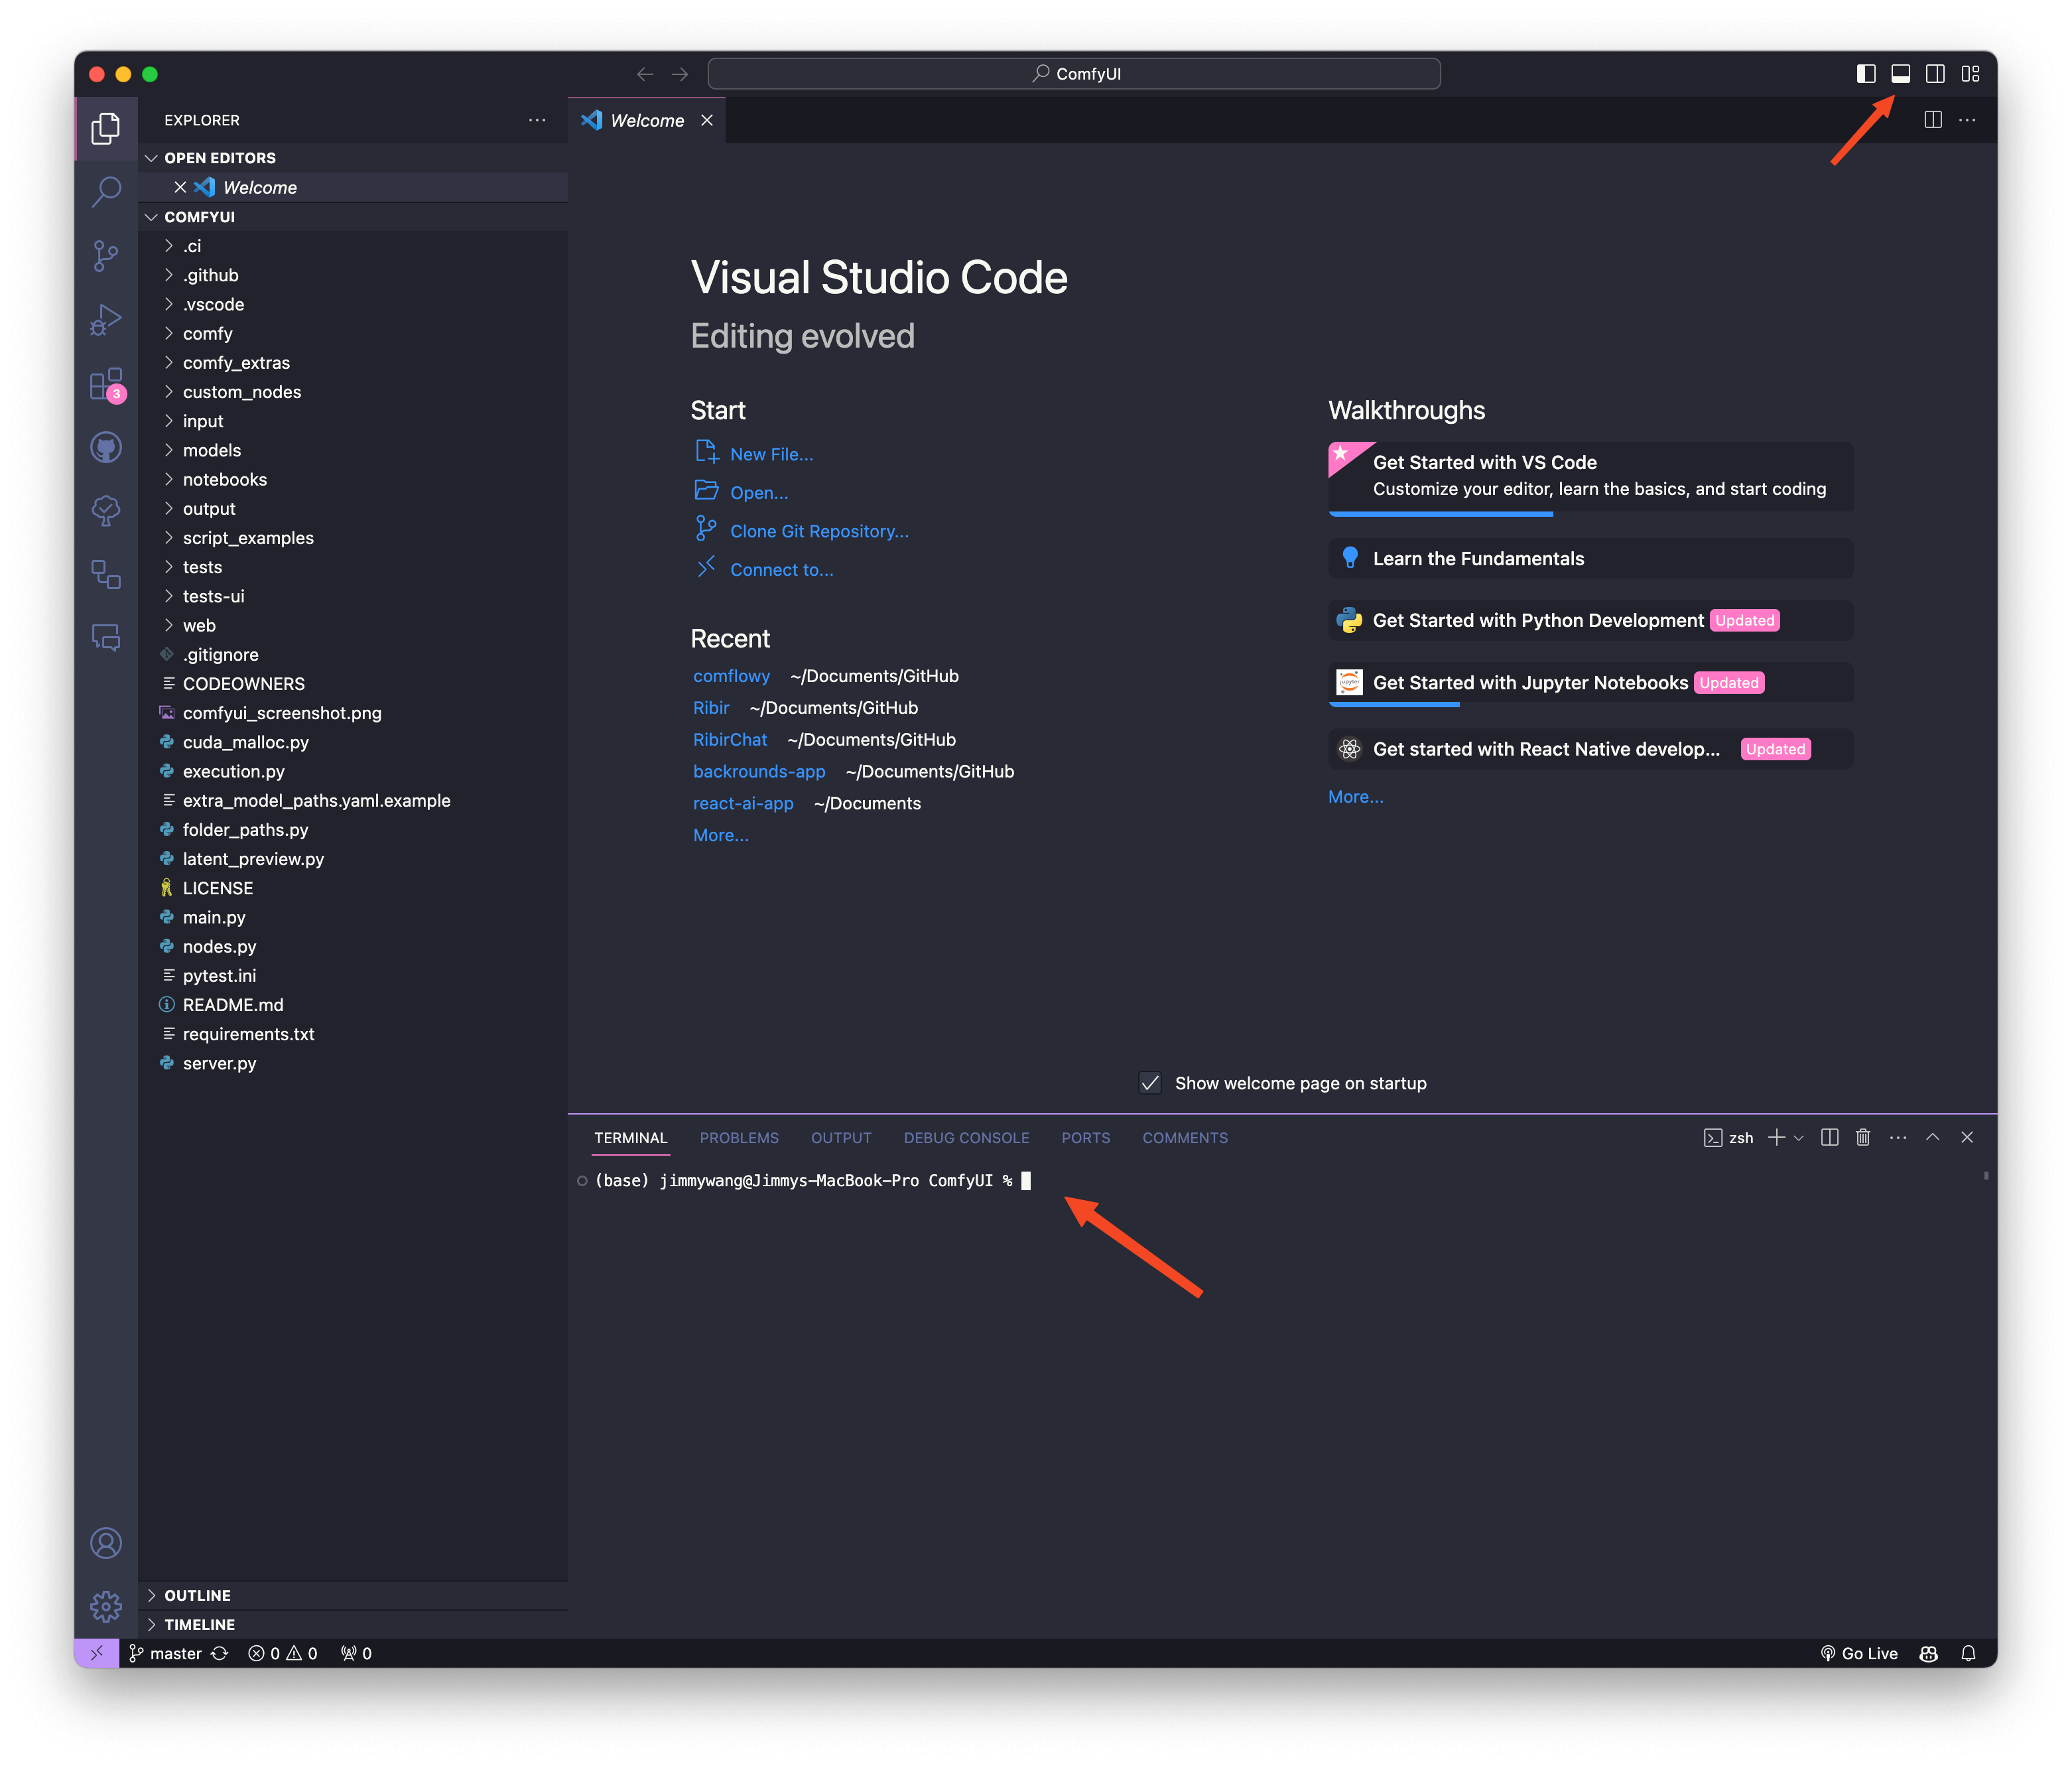
Click the "Open in Visual Studio Code" button on Github Desktop. VS Code will open at this time.
Open VS Code Terminal
Then you need to click on the second icon in the upper right corner of VS Code, and then you will see a command input interface similar to the one you saw in Terminal before at the bottom of the software.
Enter a command
In the last step, you need to enter the following command at the bottom Terminal and click Enter:
pip install -r requirements.txt
You may encounter an error like pip installation, so you can try pip3:
pip3 install -r requirements.txt
No matter which method you use, you should see "Successfully installed XXXXX" at the end, which means you have completed the installation.
Terminal Method
If you don't have VS Code installed and don't want to install it, you can install these dependencies using Terminal. You just need to follow the steps below:
Open the project folder
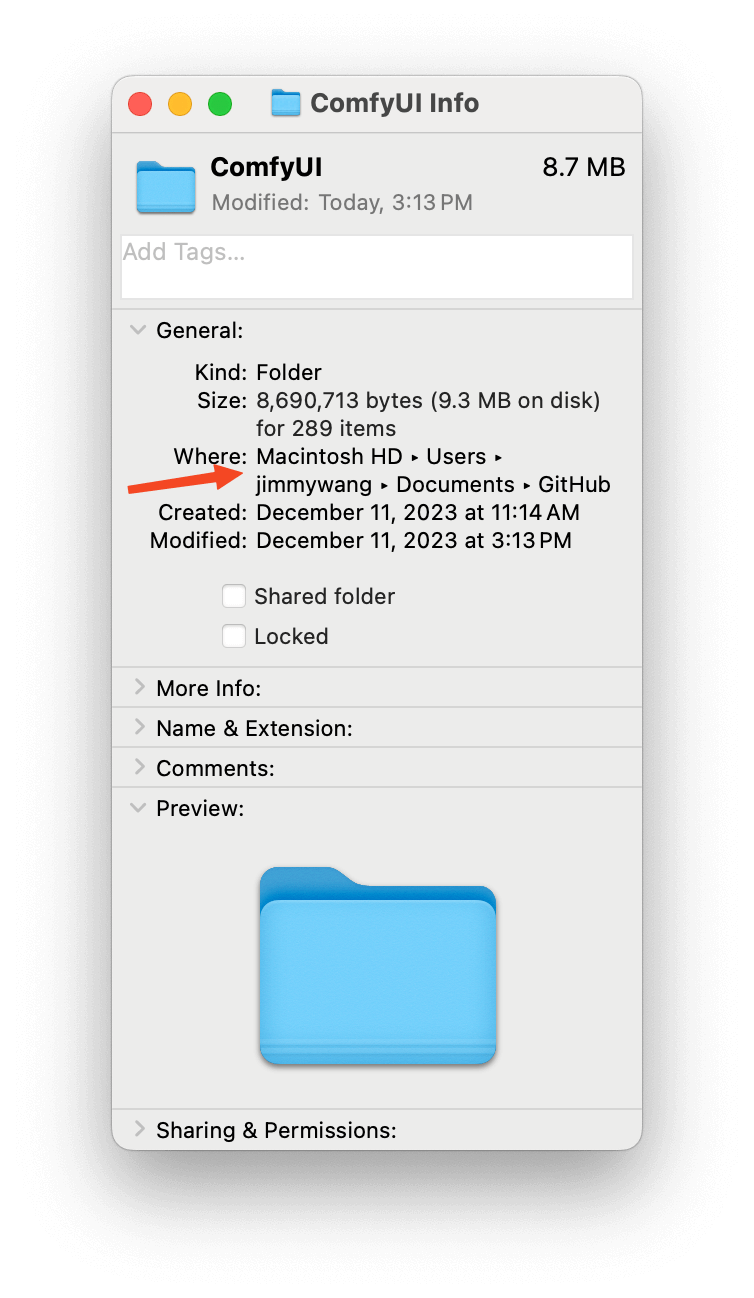
Click the "Show in Finder" button on Github Desktop, and if it is Win, it is the "Show in Explorer" button.
Find the path to the project folder
At this time, Finder will open the ComfyUI folder. You need to right-click on the blank space and then click Get Info (or a button like "Folder Information"). Then you will see the location information of this folder in the new window, similar to the picture below. Win users can see this location information directly in the folder navigation. Select and copy this string of information in the box. The information you copied should be some slash plus characters, for example mine is like this: /Users/jimmywang/Documents/GitHub
cd to project folder
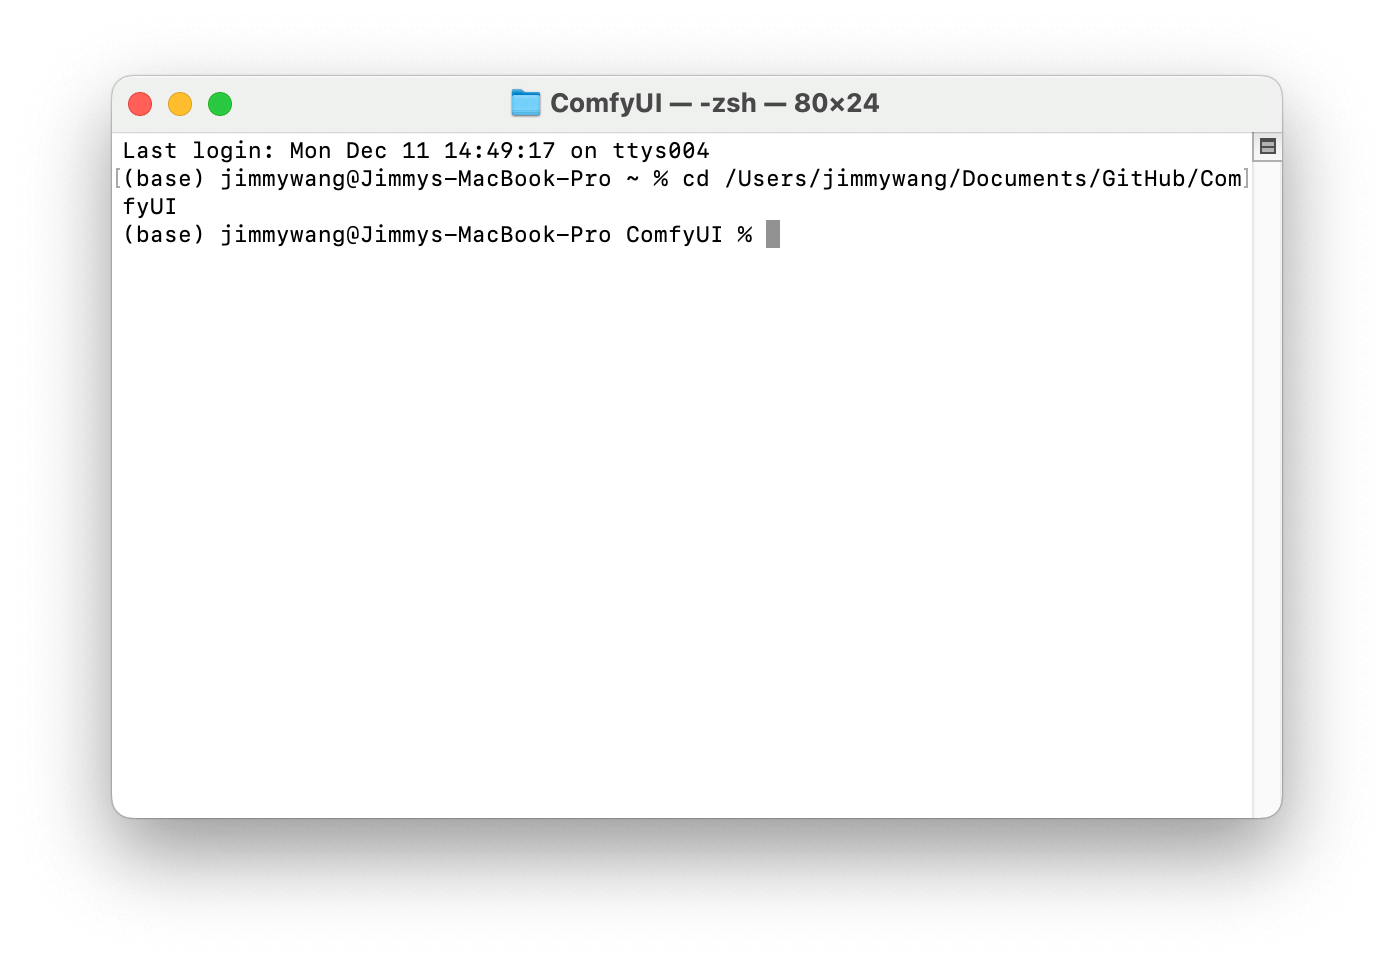
Open Terminal and enter cd, then space, and then paste the copied code in the previous step. Then you need to note that you also need to add ComfyUI at the end and press Enter. Take me as an example, what you want to enter in the end is probably like this (be careful not to copy my code, your folder location should be different from mine, I just signaled):
cd /Users/jimmywang/Documents/GitHub/ComfyUI
If it goes well, it will be like this:
Enter a command
In the last step you need to enter the following code there and click Enter:
pip install -r requirements.txt
You may encounter an error like pip installation, so you can try pip3:
pip3 install -r requirements.txt
No matter which method you use, you should see "Successfully installed XXXXX" at the end, which means you have completed the installation.
Step 4: Start the service
Whether you run it in VS Code in the previous step or in Terminal, you can continue to enter the following code:
python main.py
In this step, if you want ComfyUI to run faster, you can enter the following code:
python main.py --force-fp16
In addition, if you encounter an error problem similar to the previous step, you can try using python3:
python3 main.py
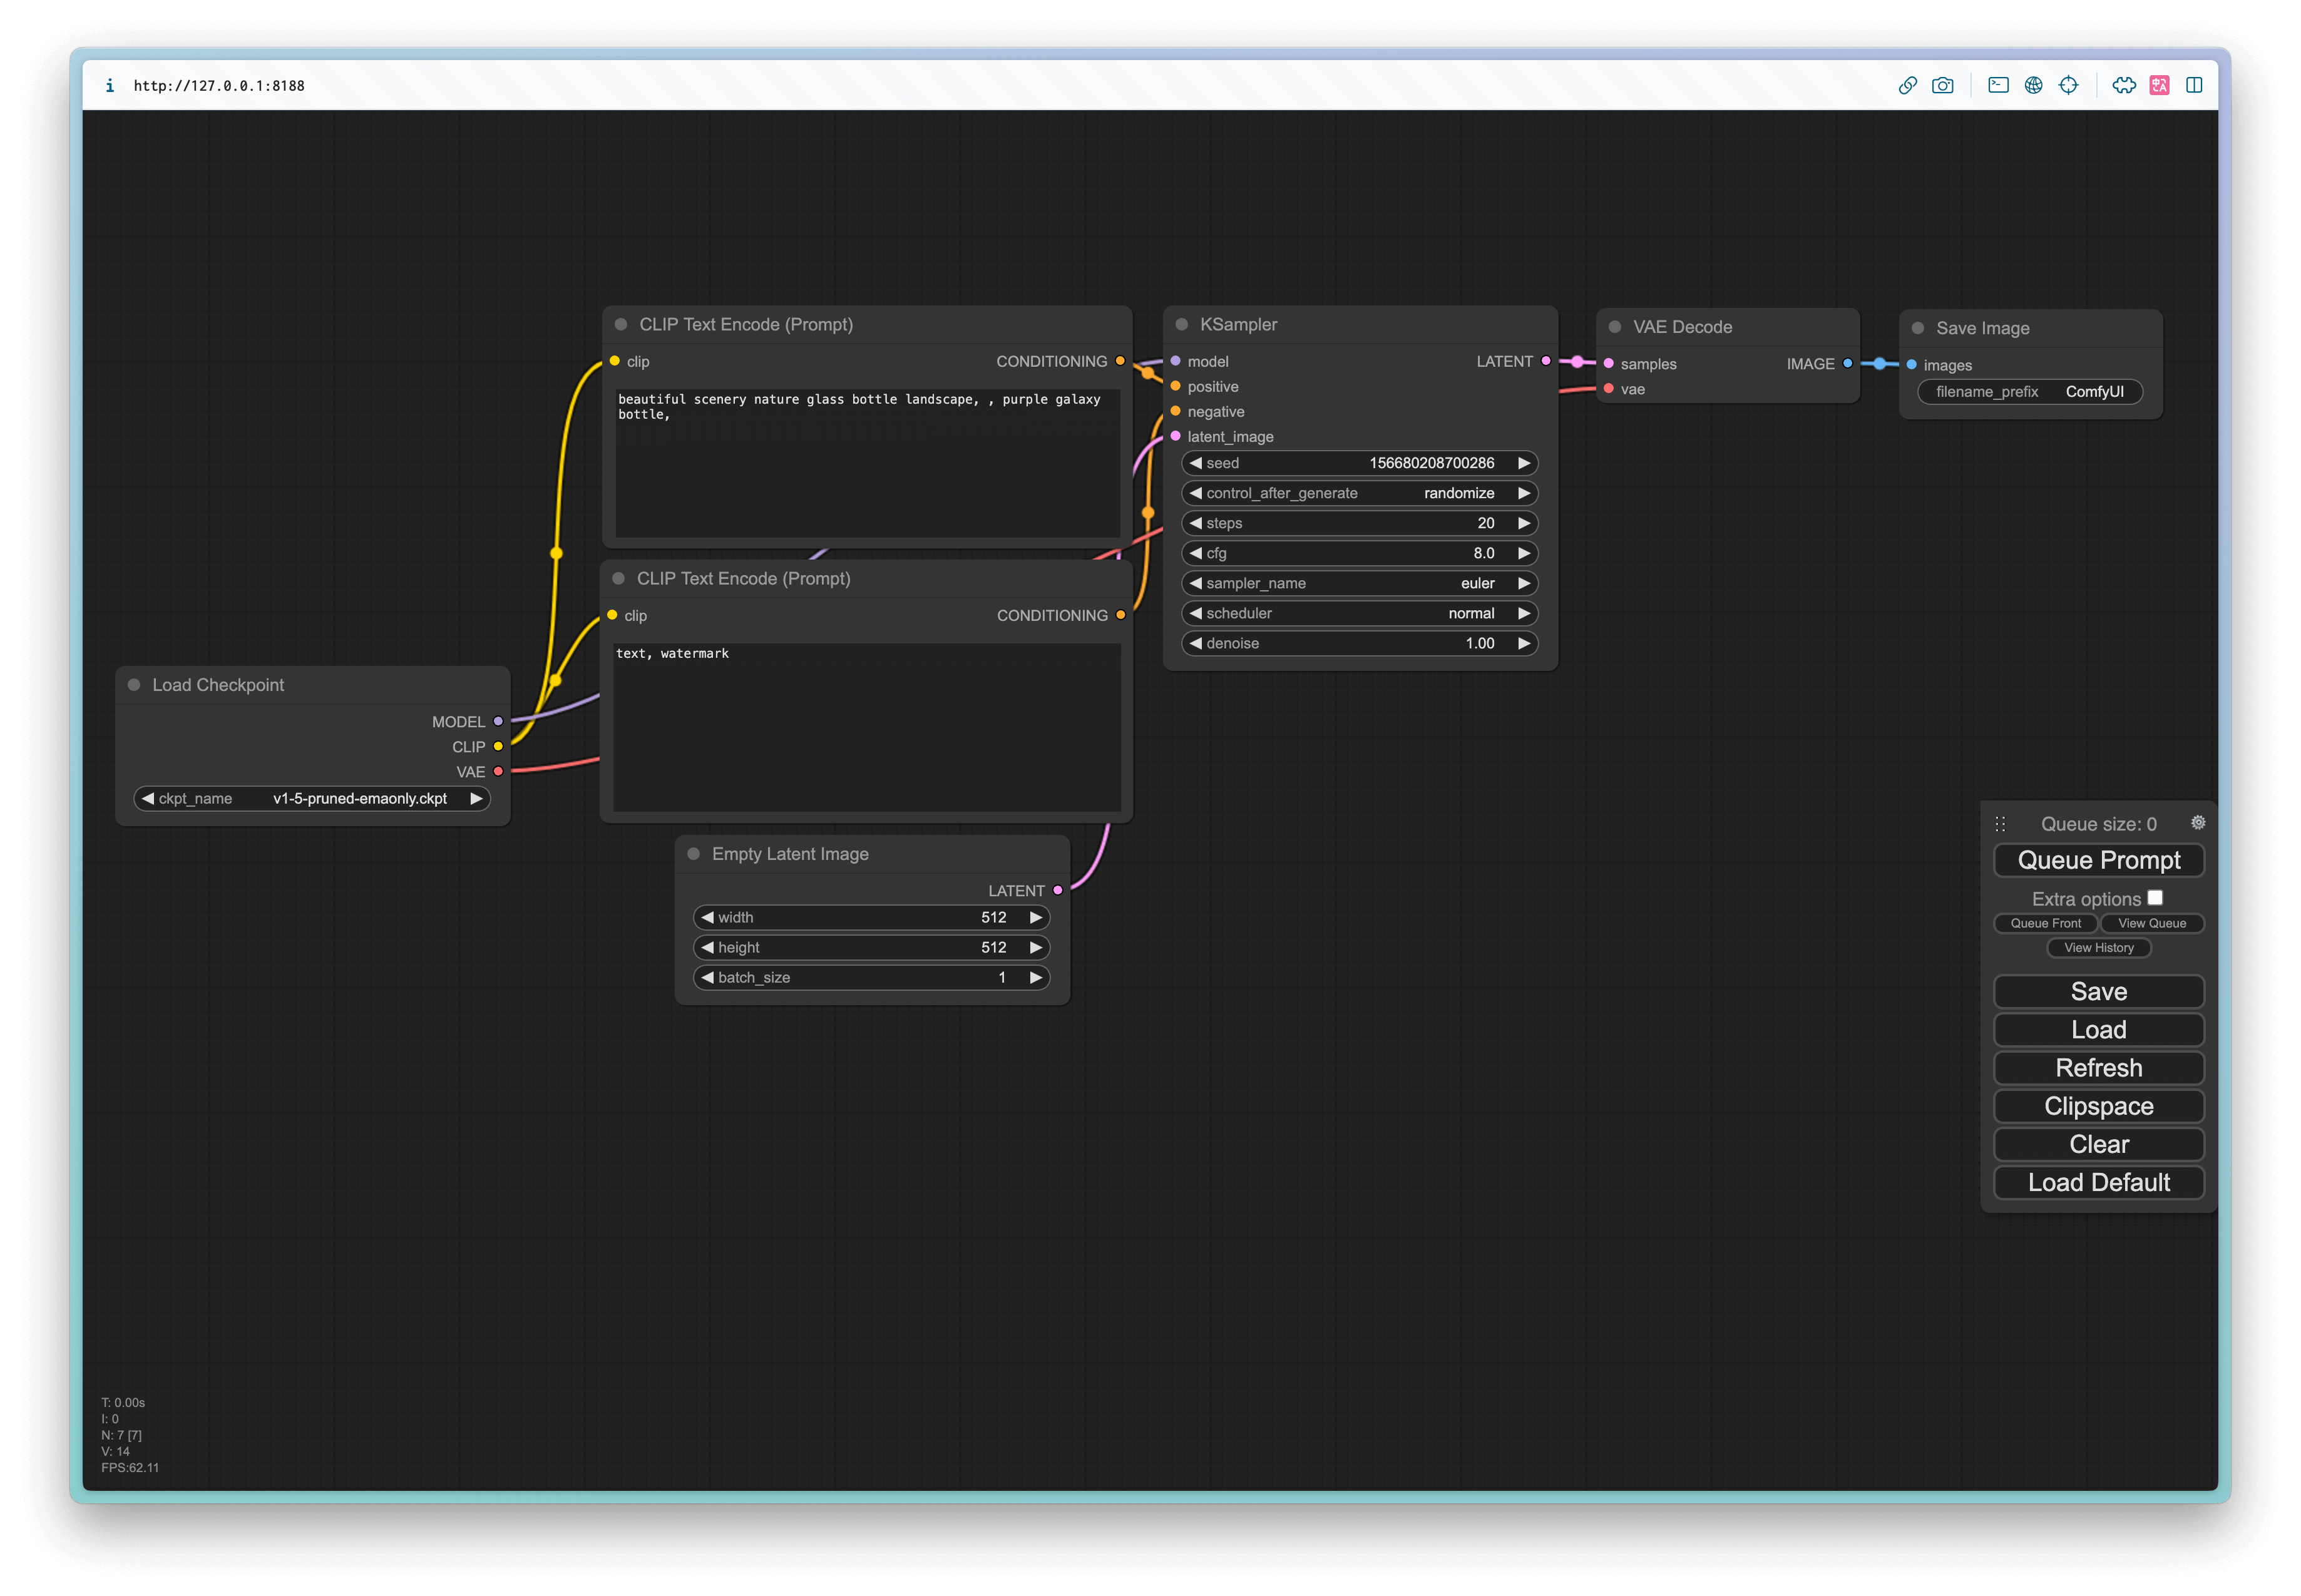
When you see "To see the GUI go to: http://127.0.0.1:8188", (opens in a new tab) means that you have completed the installation of ComfyUI and run it successfully. At this time, you just need to copy and paste the address below in your browser:
http://127.0.0.1:8188/
You should be able to see the following interface. Congratulations, ComfyUI is installed. But the Stable DIffusion raw image cannot be run yet. You also need to download the key models. In the next chapter, I will teach you how to download and install the required models.